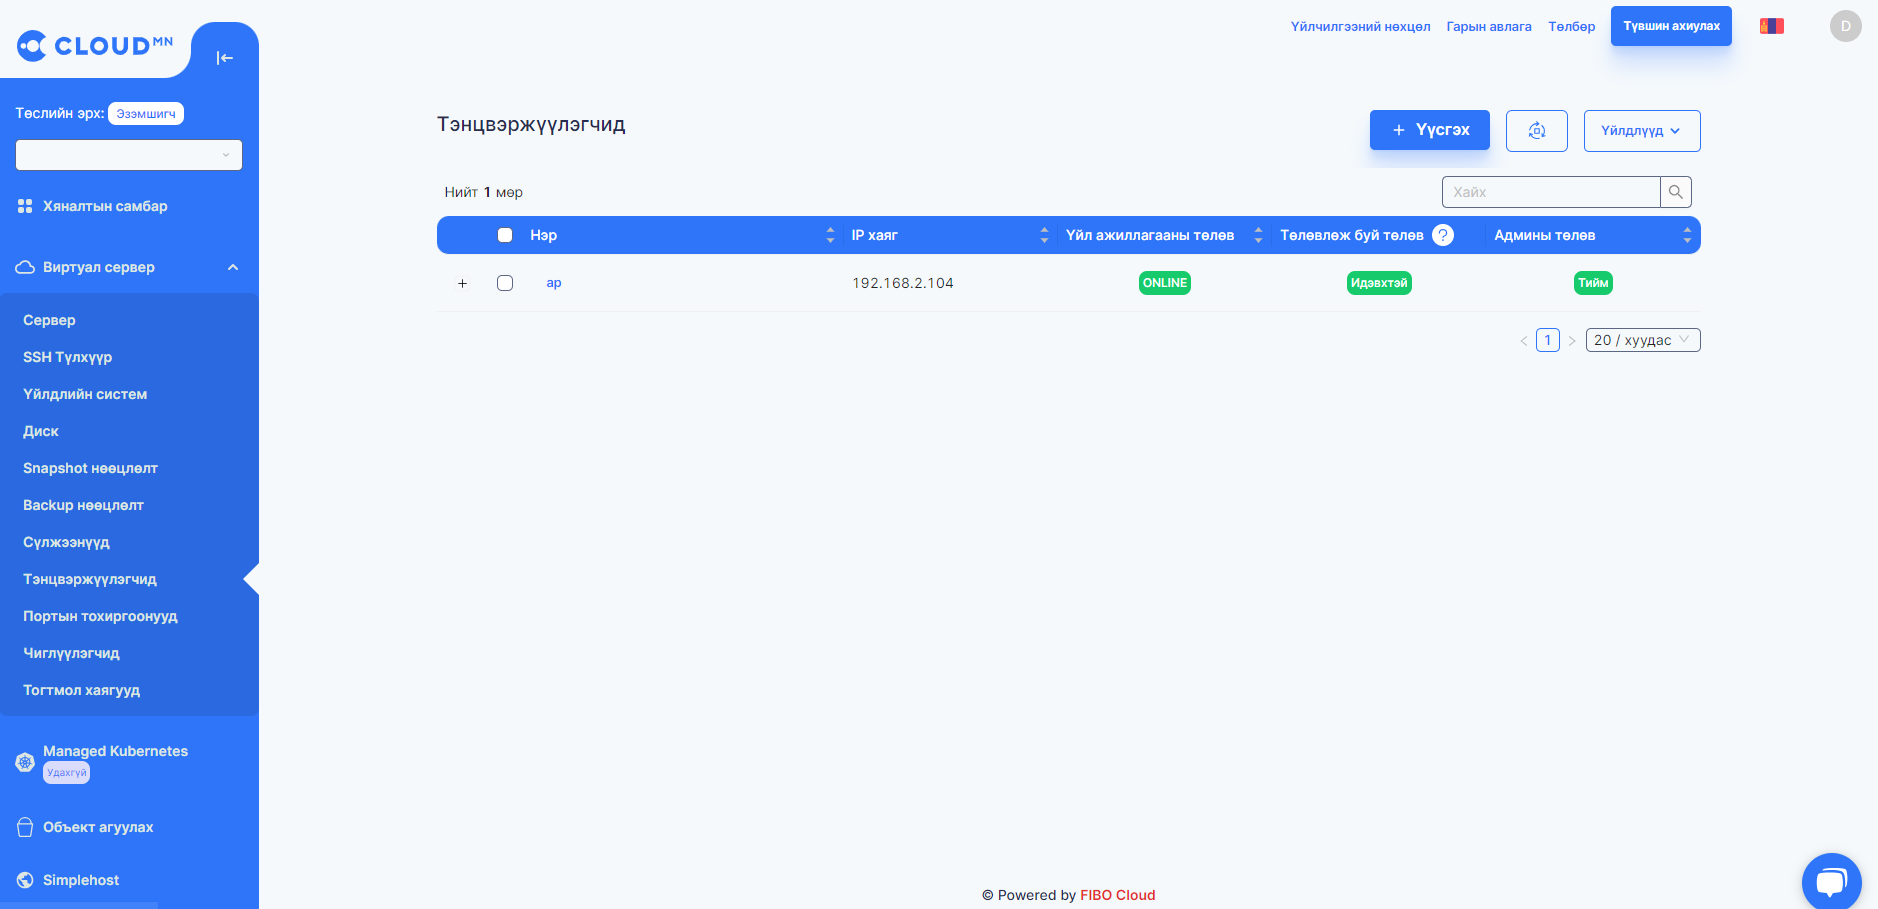
LoadBalancers
Create Loadbalancer
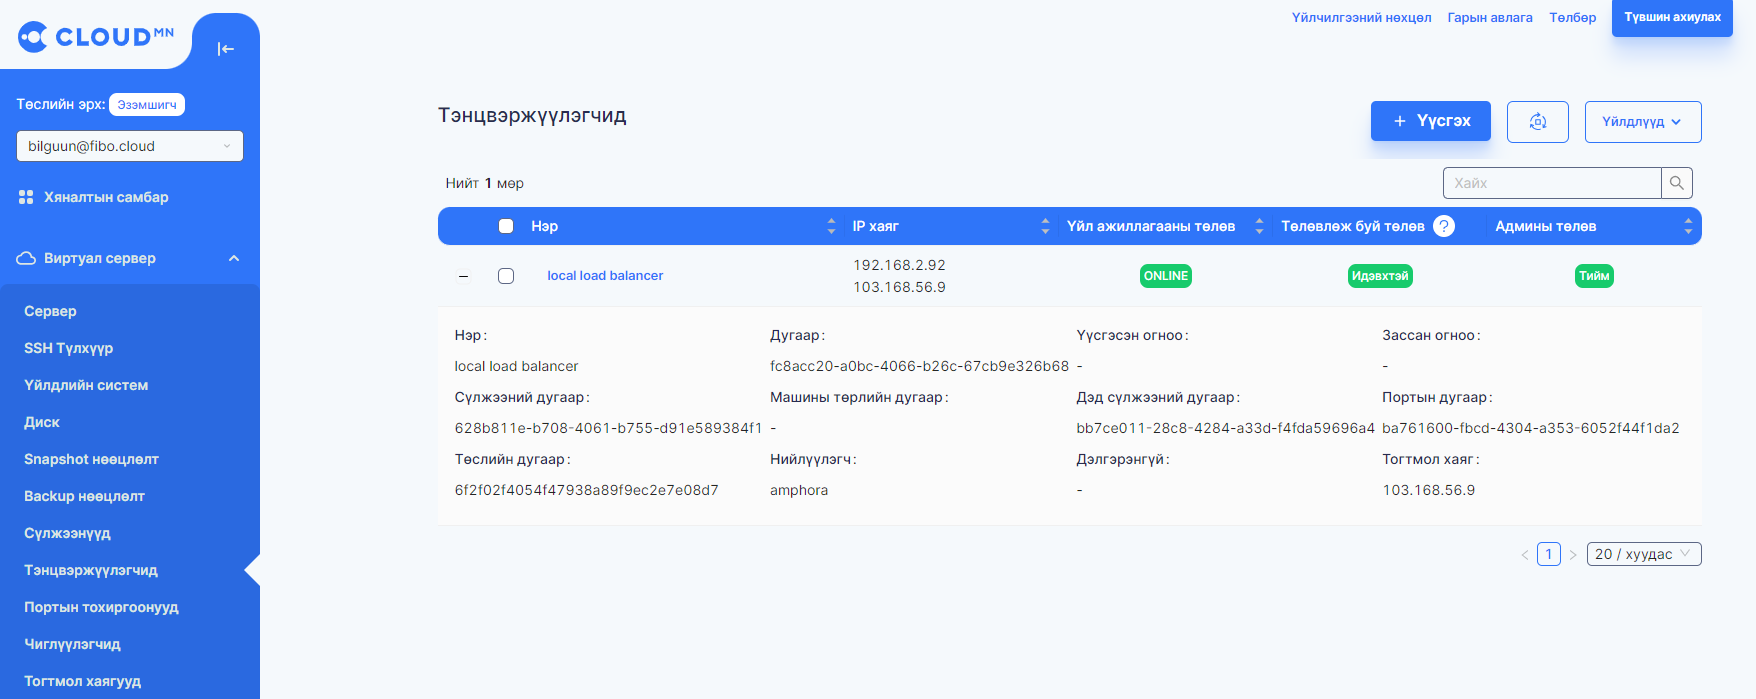
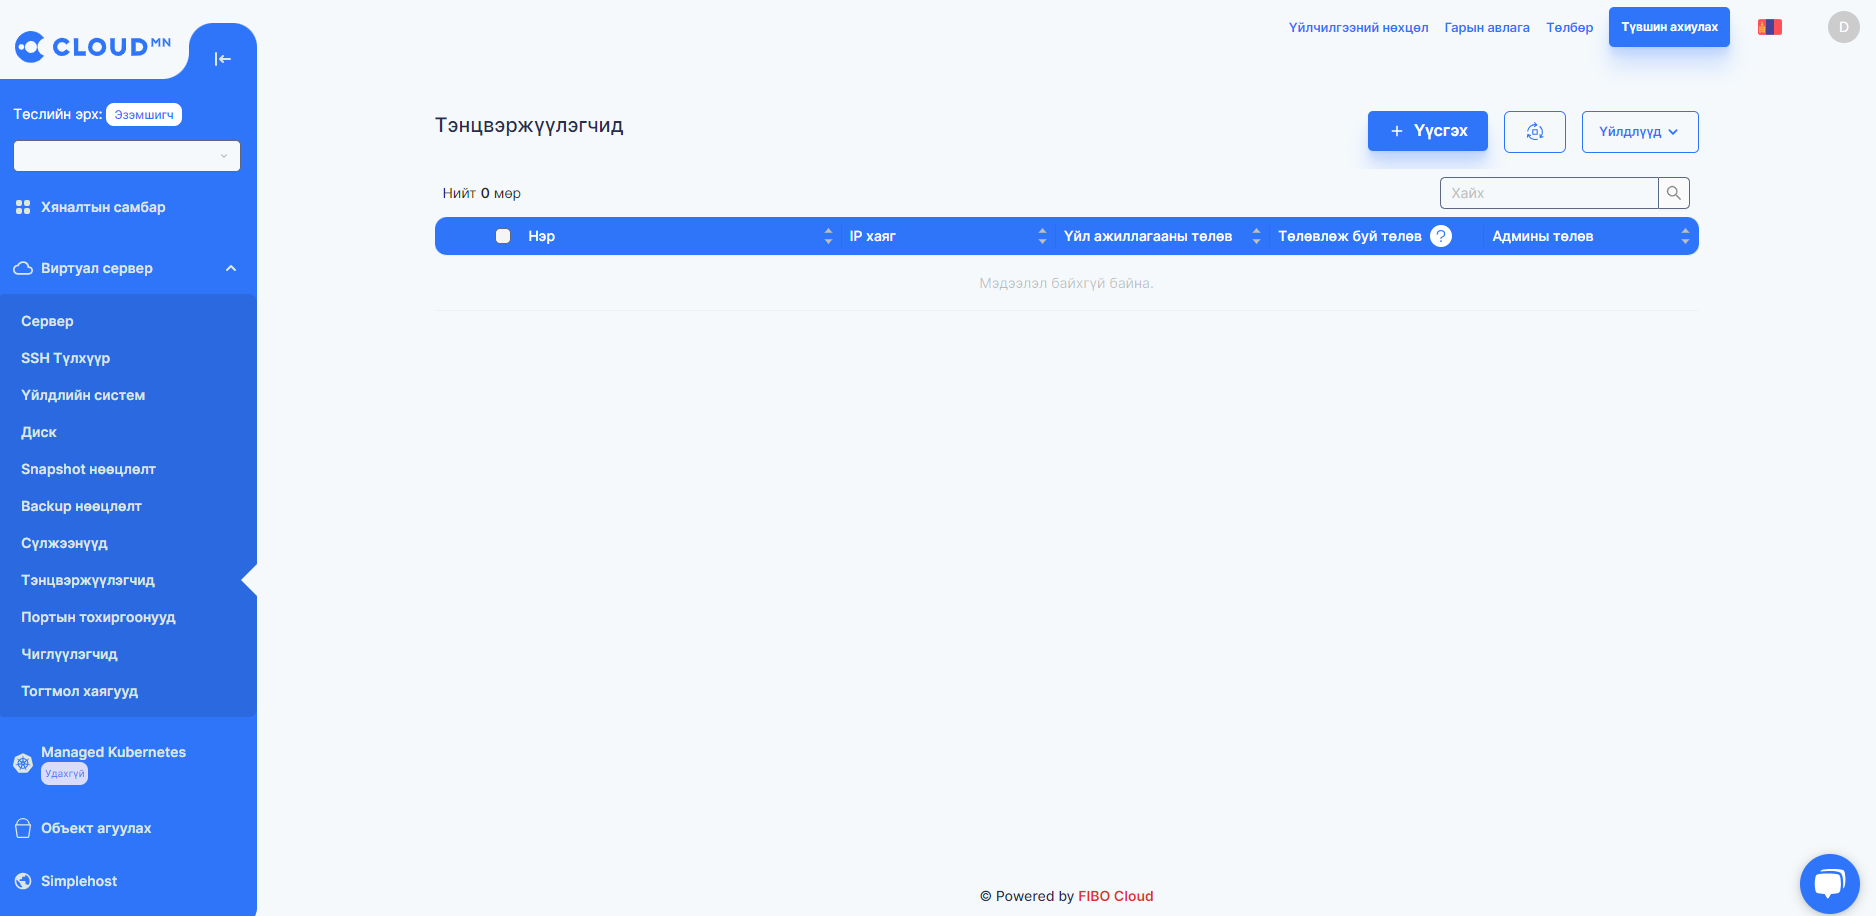
Left on the left hand side of Consumer Console Load Balancers to menu.
Click Create button.
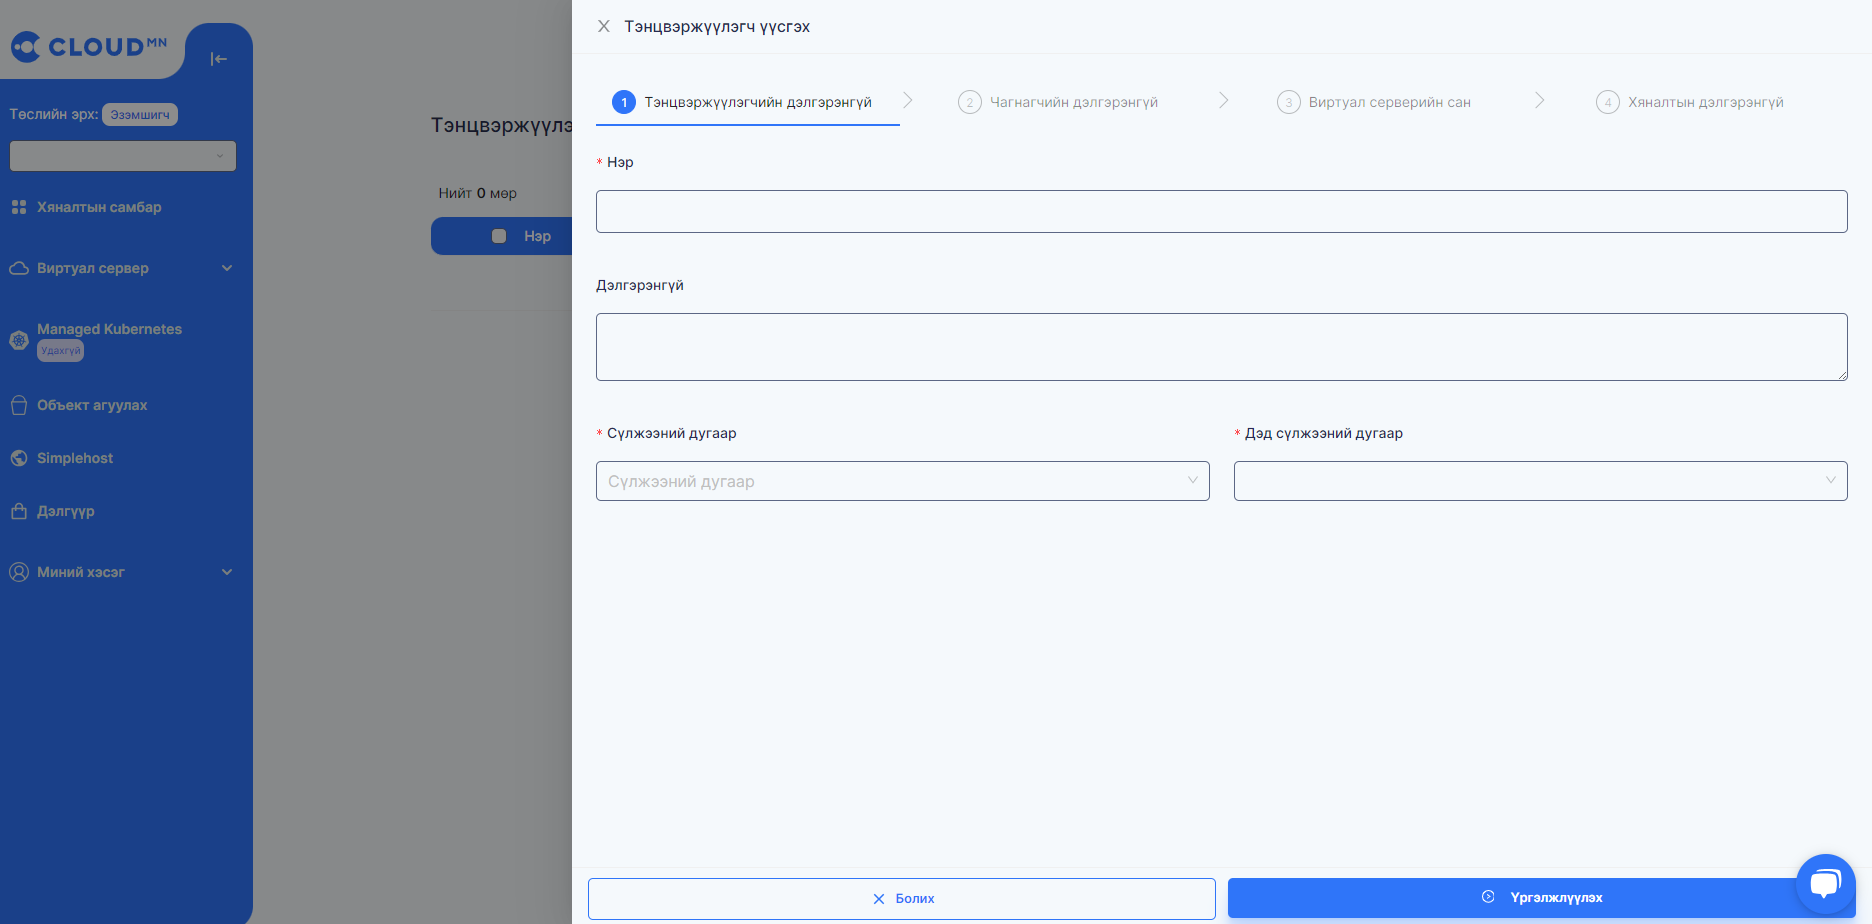
Load balancer details
- A new dialog box for creating Load Balancer will appear, and the following fields are required to create a new Loadbalancer.
- Name: The name of the Loadbalancer
- Network ID: The network where the balancer will be located.
- Subnet ID: the subnet where the balancer will be located.
The balancer will distribute incoming traffic to the selected services located in this subnet.
Listener details
1.When creating an Loadbalancer, choose whether to create it with a listener. If you want to create without listeners, select No and click Next.
2.The following fields are required be filled in to create a Listener. Fill in the following fields and click Next
- Name: The name of the Listener
- Protocol: The balancing protocol to be used by the balancer.
- Port: The balancing port to be used by the balancer.
- Client data timeout: client inactivity timeout.
- TCP data timeout: tcp inactivity timeout.
- Member connect timeout: backend connection timeout
- Member data timeout: backend inactive timeout.
- Connection limit:
The timeout values are set in milliseconds. The minimum value is 0, the maximum value is 2073600000 (576 hours).

Pool
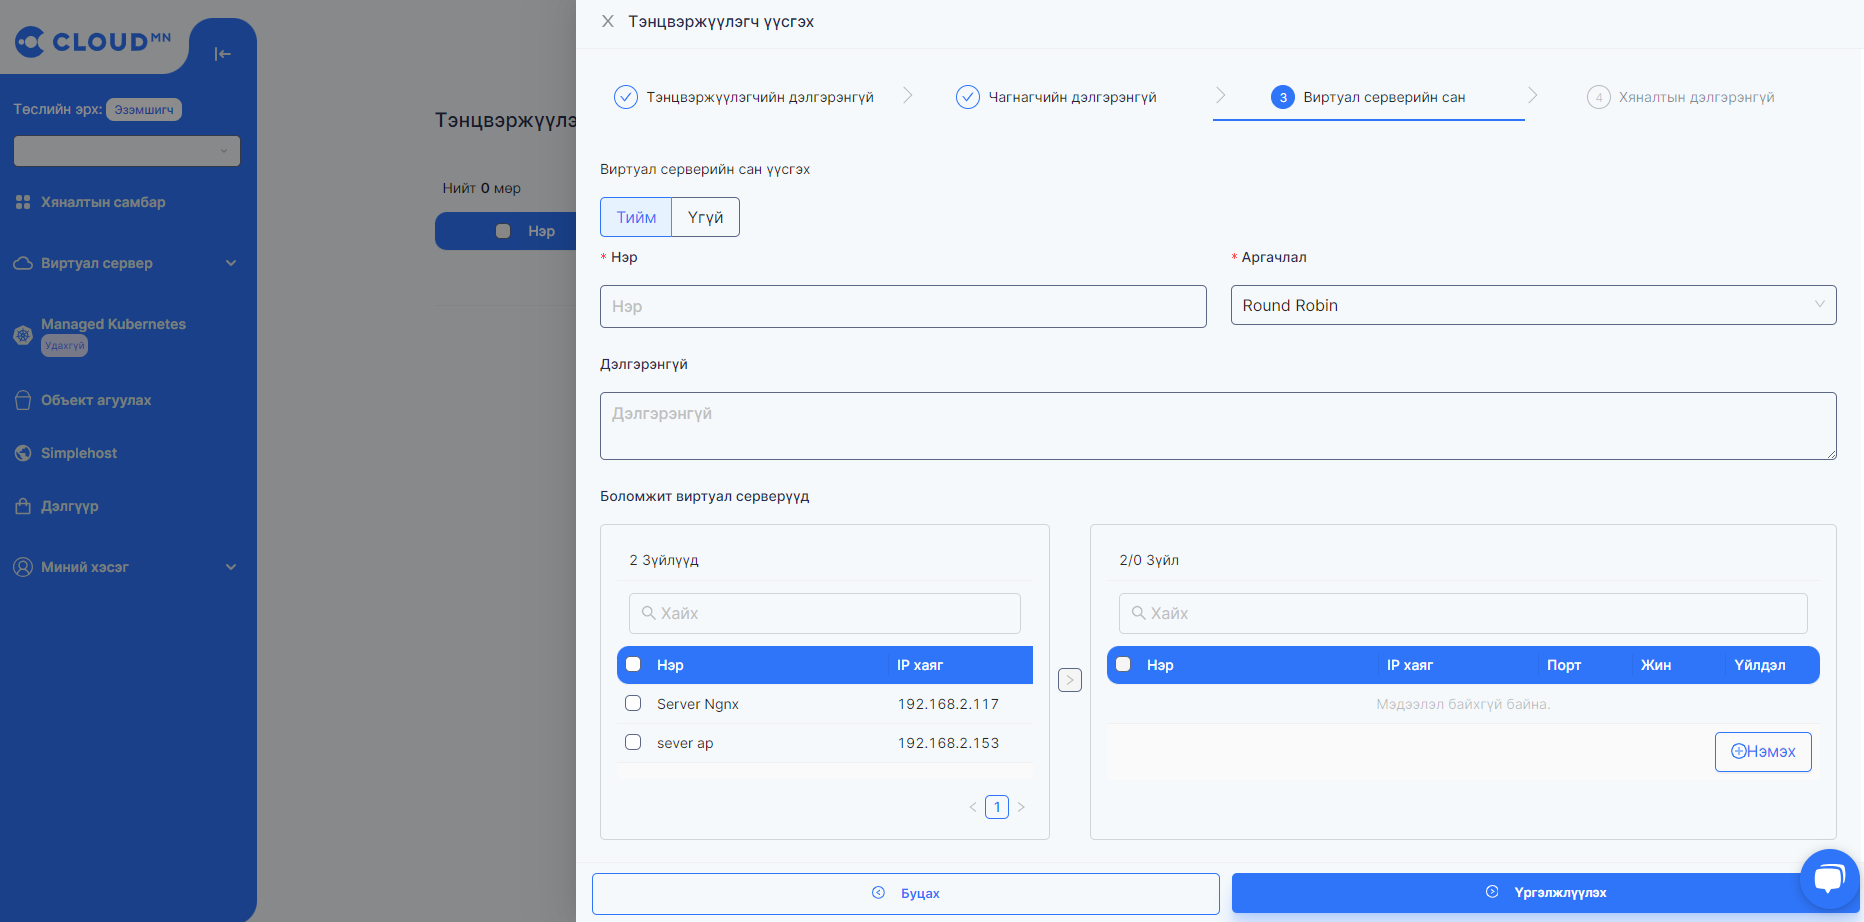
1.When creating an Loadbalancer, choose whether to create it with a pool. If you want to create without pools, select No** and click Next.
2.The following fields are required be filled in to create a Pool.
- Name: The name of the Pool
- Method: The balancing method to be used by the balancer.
- LEAST_CONNECTIONS: use the backend to which the least number of connections are established.
- ROUND_ROBIN: go through all backends one by one.
- SOURCE_IP: assign a backend for handling traffic to a specific client IP address.
3.Select the instances belonging to the pool and fill in the following fields and click Next
Monitor details
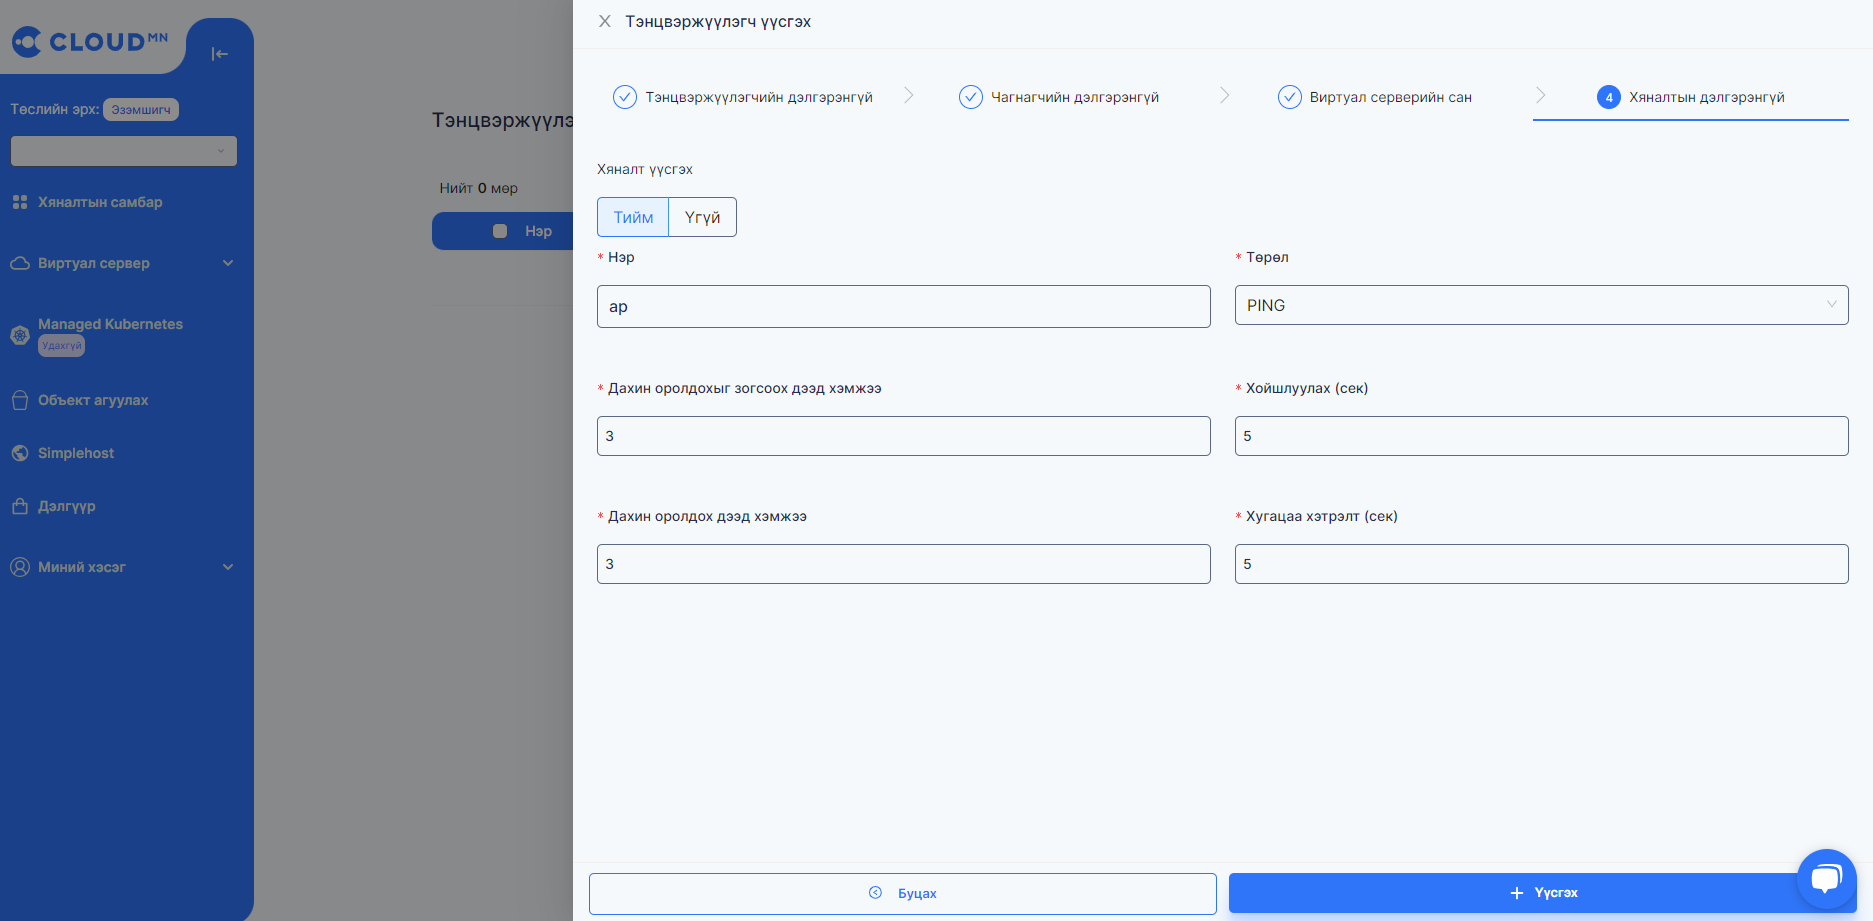
1.When creating an Loadbalancer, choose whether to create it with a Monitor. If you want to create without monitor, select No and click Create.
2.The following fields are required be filled in to create a Monitor. Fill in the following fields and click Create
- Name: The name of the Monitor
- Type: TCP, HTTP, HTTPS, or PING
- Max retries down: The number of times to try before the backend is deemed inaccessible.
- Delay(sec): Time between retries.
- Max retries: The number of times to try.
- Timeout(sec): Time to complete the attempt.
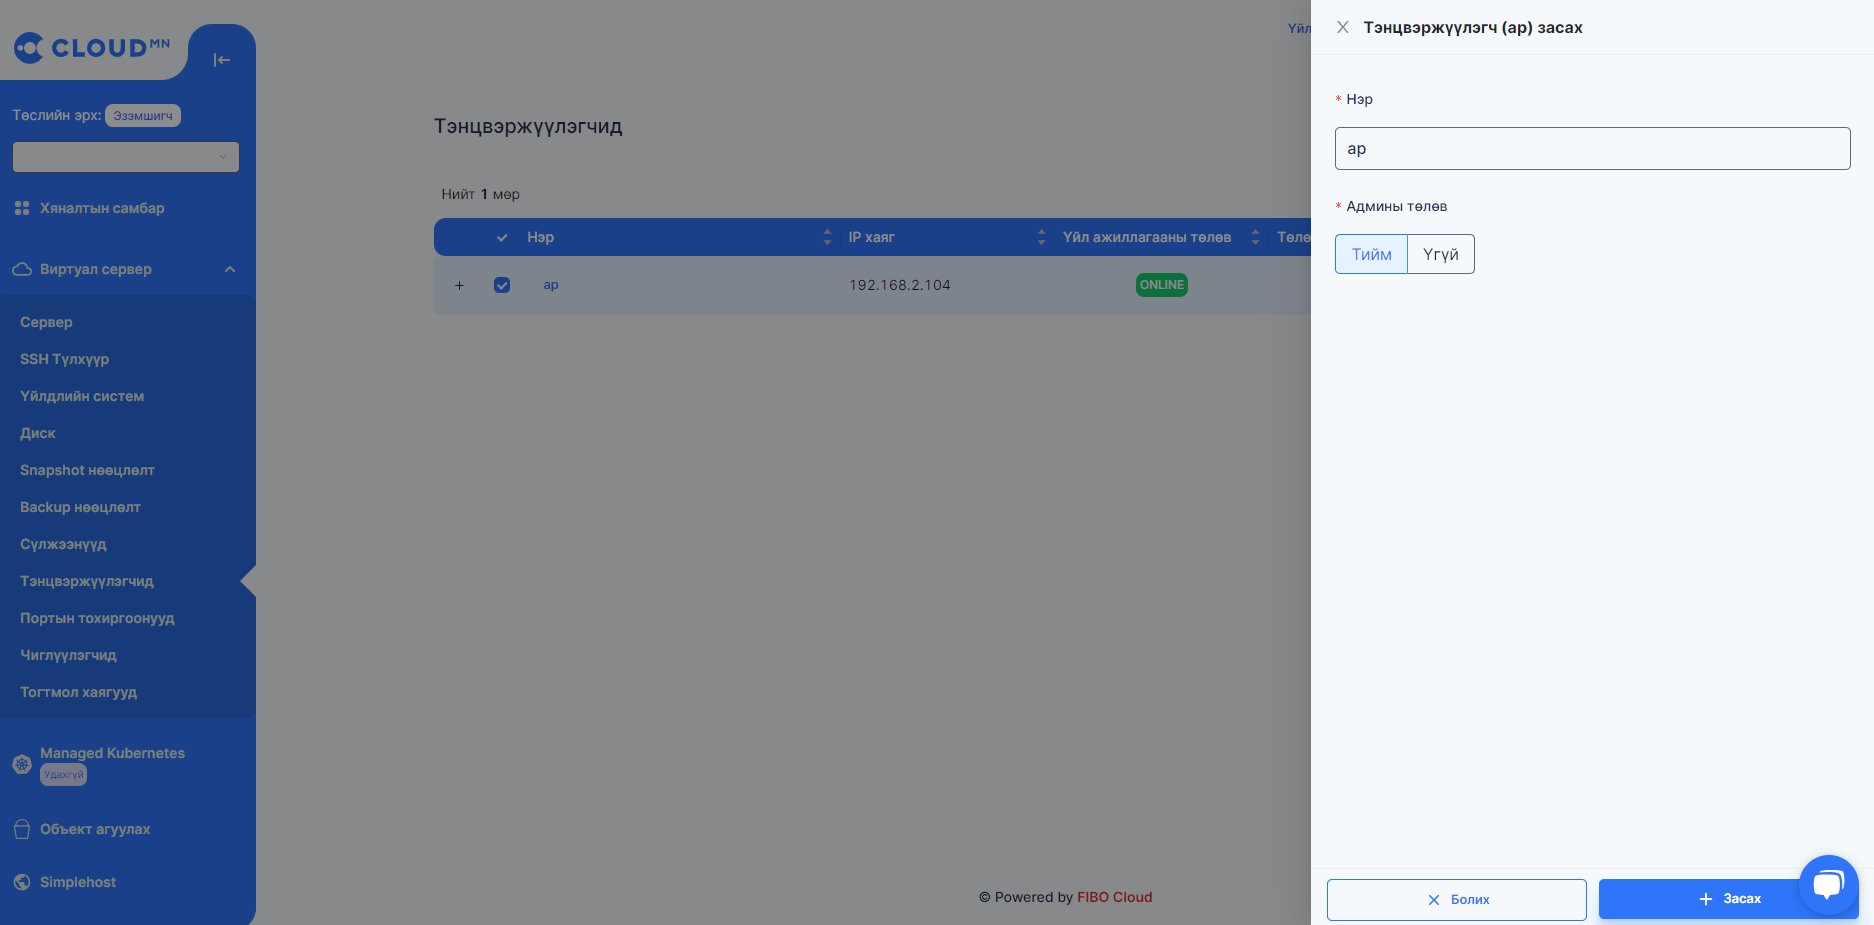
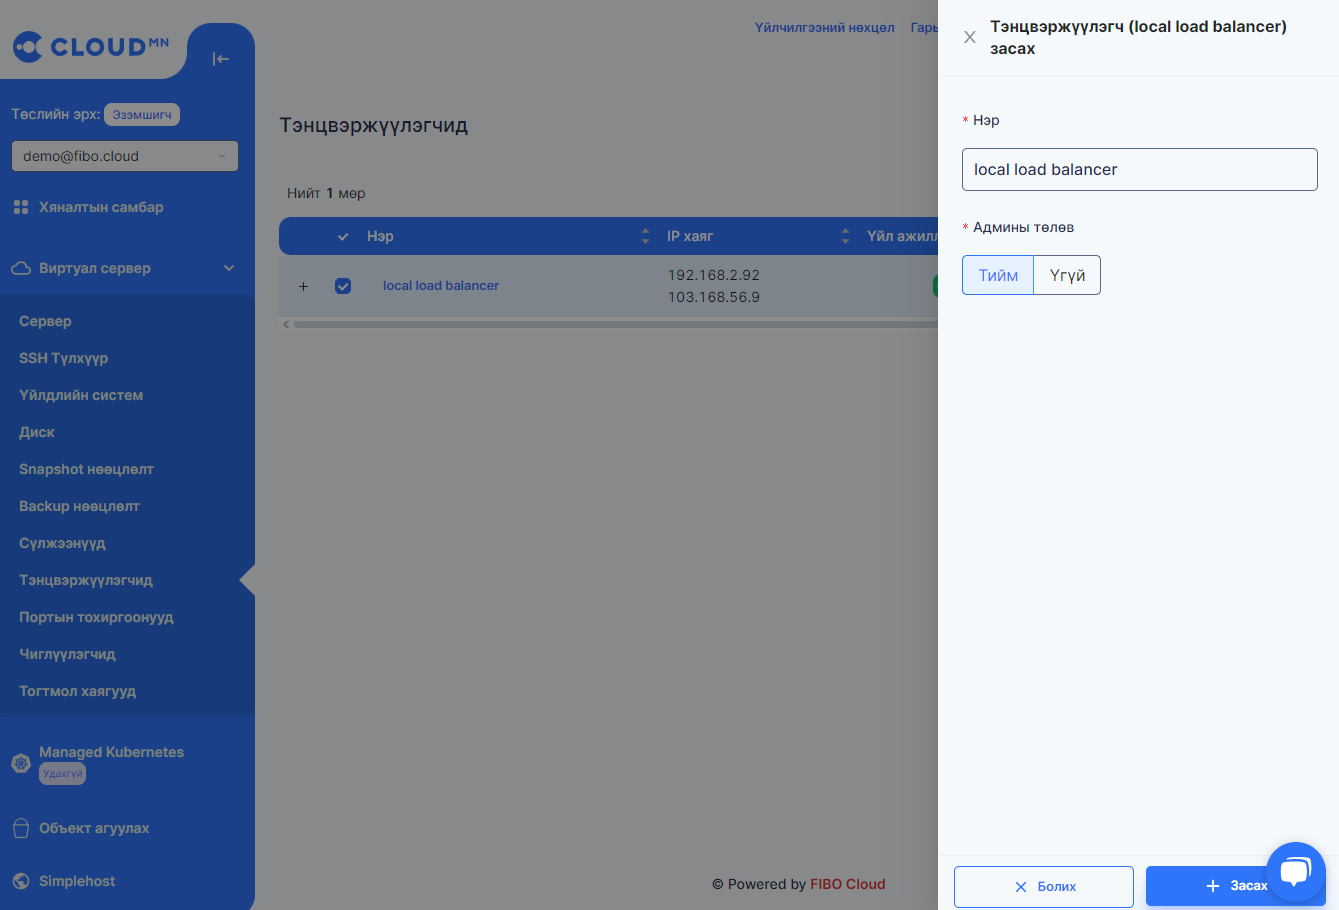
Edit Loadbalancer
1.When editing a loadbalancer, first select the Loadbalancer and click Action button, select the Edit button.
2.Change the name of Loadbalancer, or change admin state then Update button
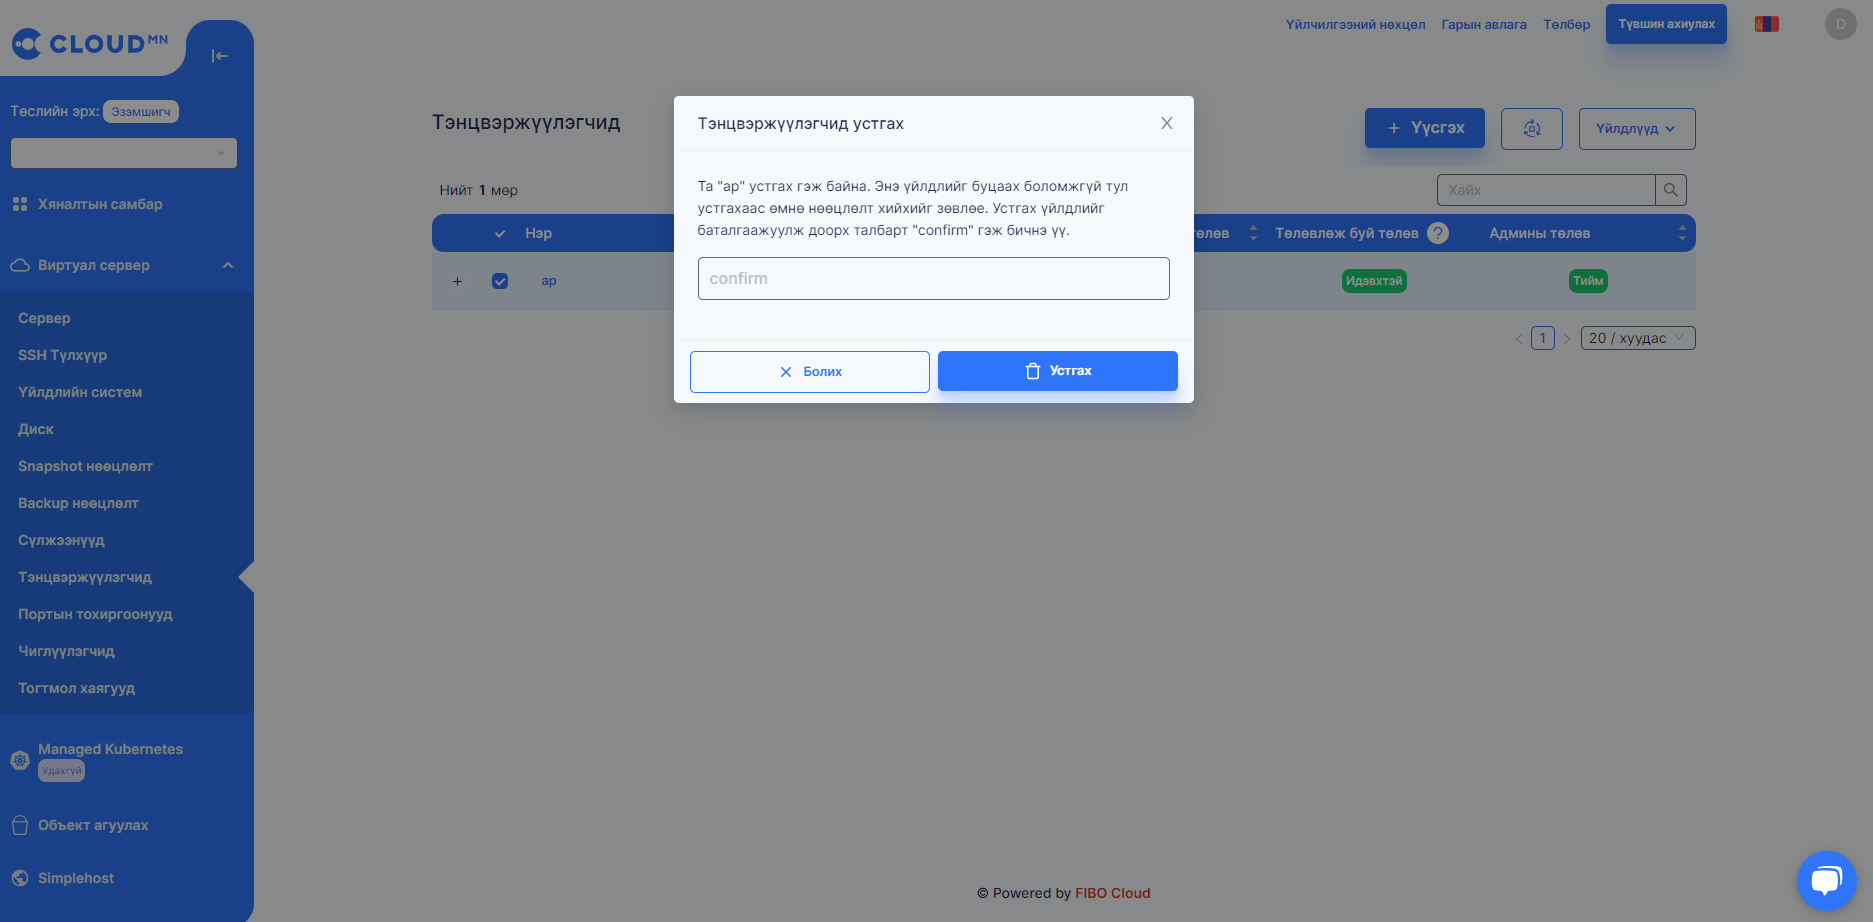
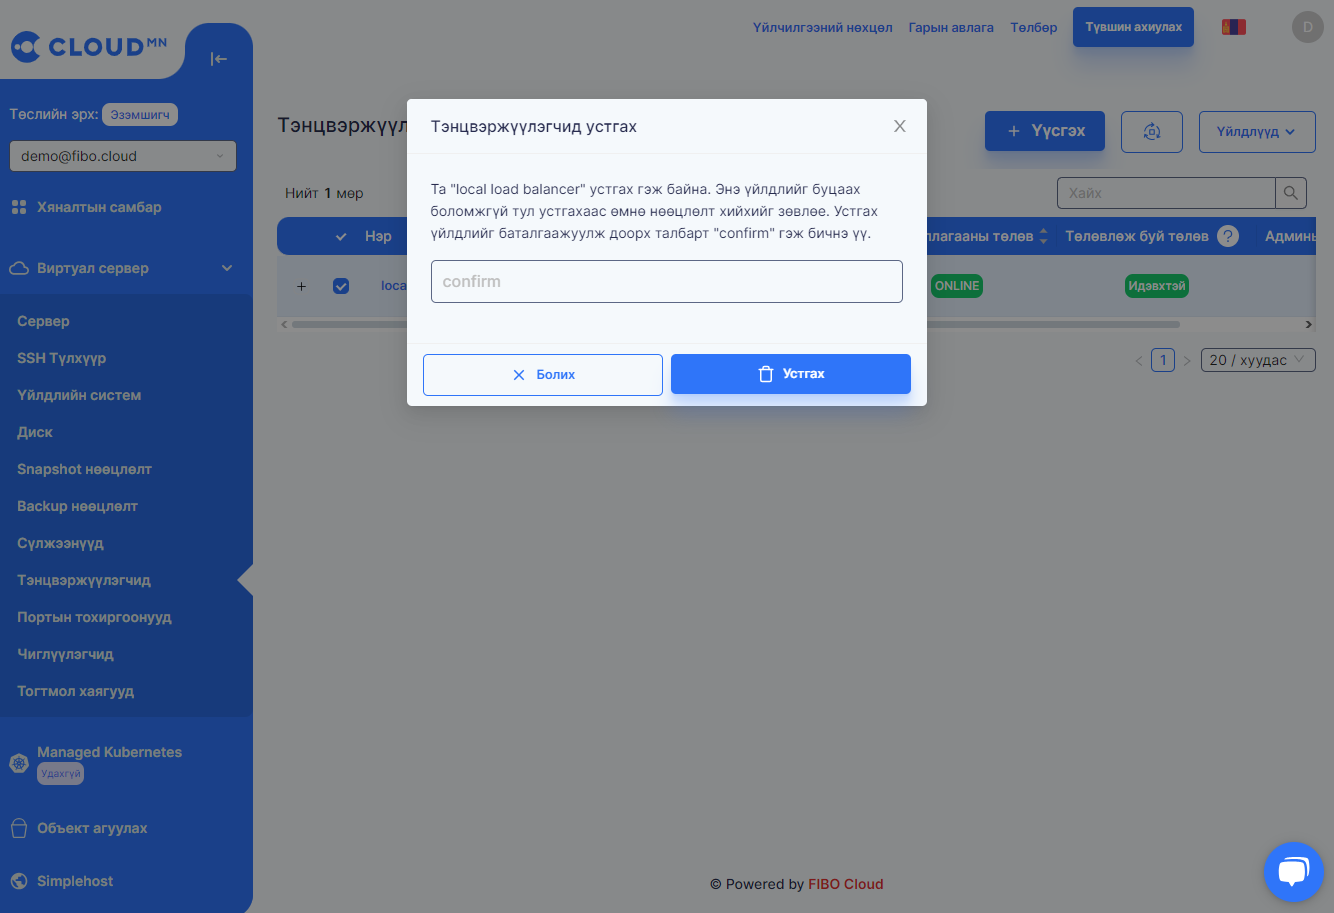
Delete Loadbalancer
1.When deleting a loadbalancer, first select the Loadbalancer and click Action button, select the Delete button.
2.The following window for deleting Loadbalancer will open, click the Delete button and the deletion will be successful.
Listener
Create Listener
1.Click on the Load Balancer name.
 2.Select the Listeners tab.
3.Click Create button.
4.The following fields are required be filled in to create a Listener. Fill in the following fields and click Create
- Name: The name of the Listener
- Protocol: The balancing protocol to be used by the balancer.
- Port: The balancing port to be used by the balancer.
- Client data timeout: client inactivity timeout.
- TCP data timeout:
- Member connect timeout: backend connection timeout.
- Member data timeout: backend inactive timeout.
- Connection limit:
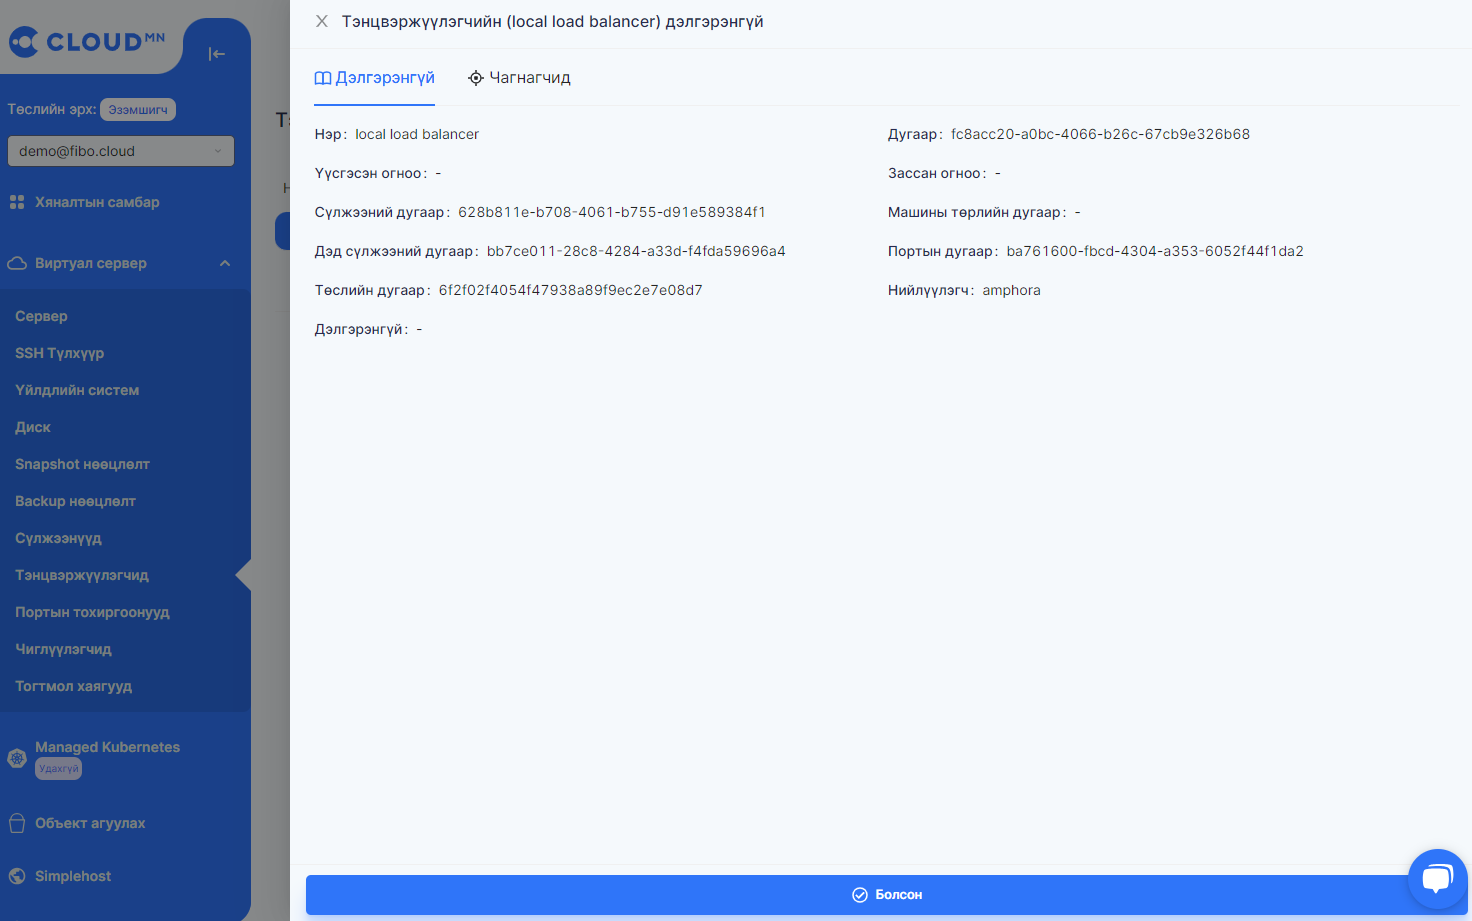
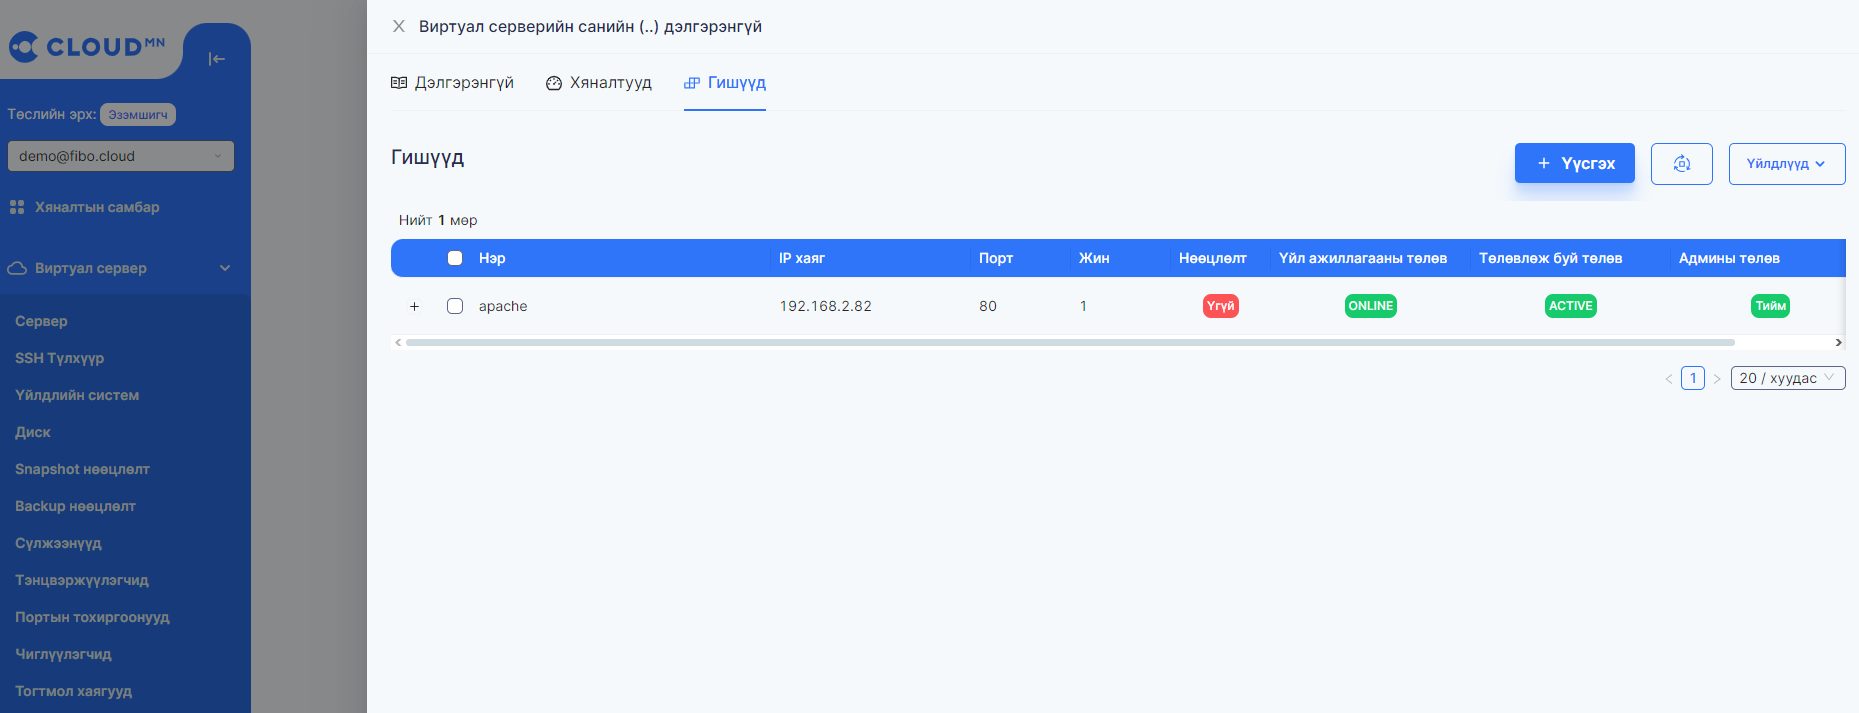
Listener detail
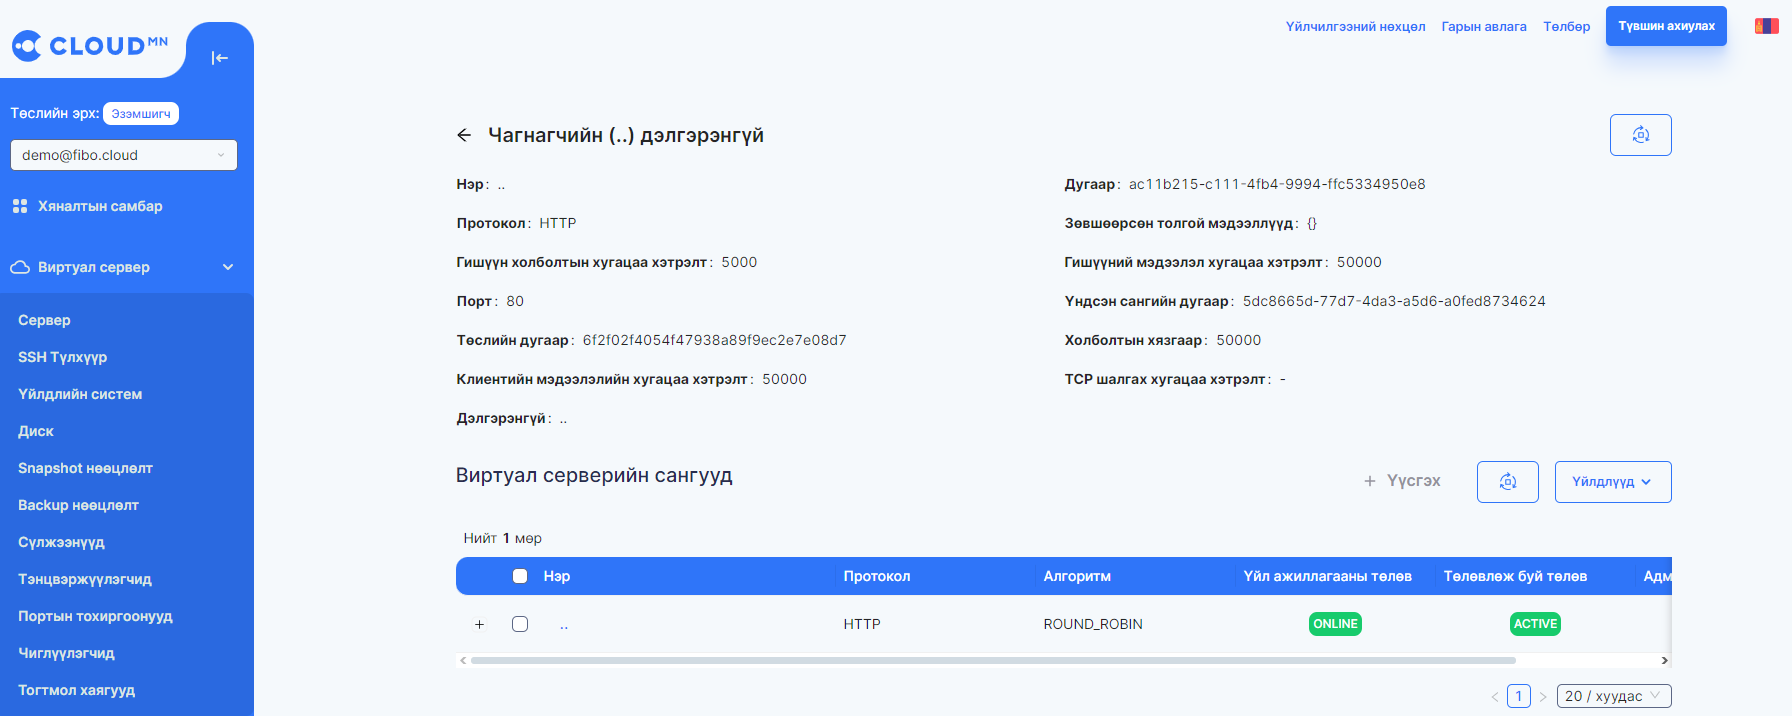
- Listener cheackers
- Listener members
Edit Listener
1.To edit a Listener, first select the Listener and click the Pencil button in the Actions column
2.Change the connection limit, or change admin state then Update button
Delete Listener
1.When deleting a listener, first select the Listener and click Action button, select the Delete button.
2.The following window for deleting Listener will open, click the Delete button and the deletion will be successful.
How to connect an external IP address on a loadbalancer created with a private network?
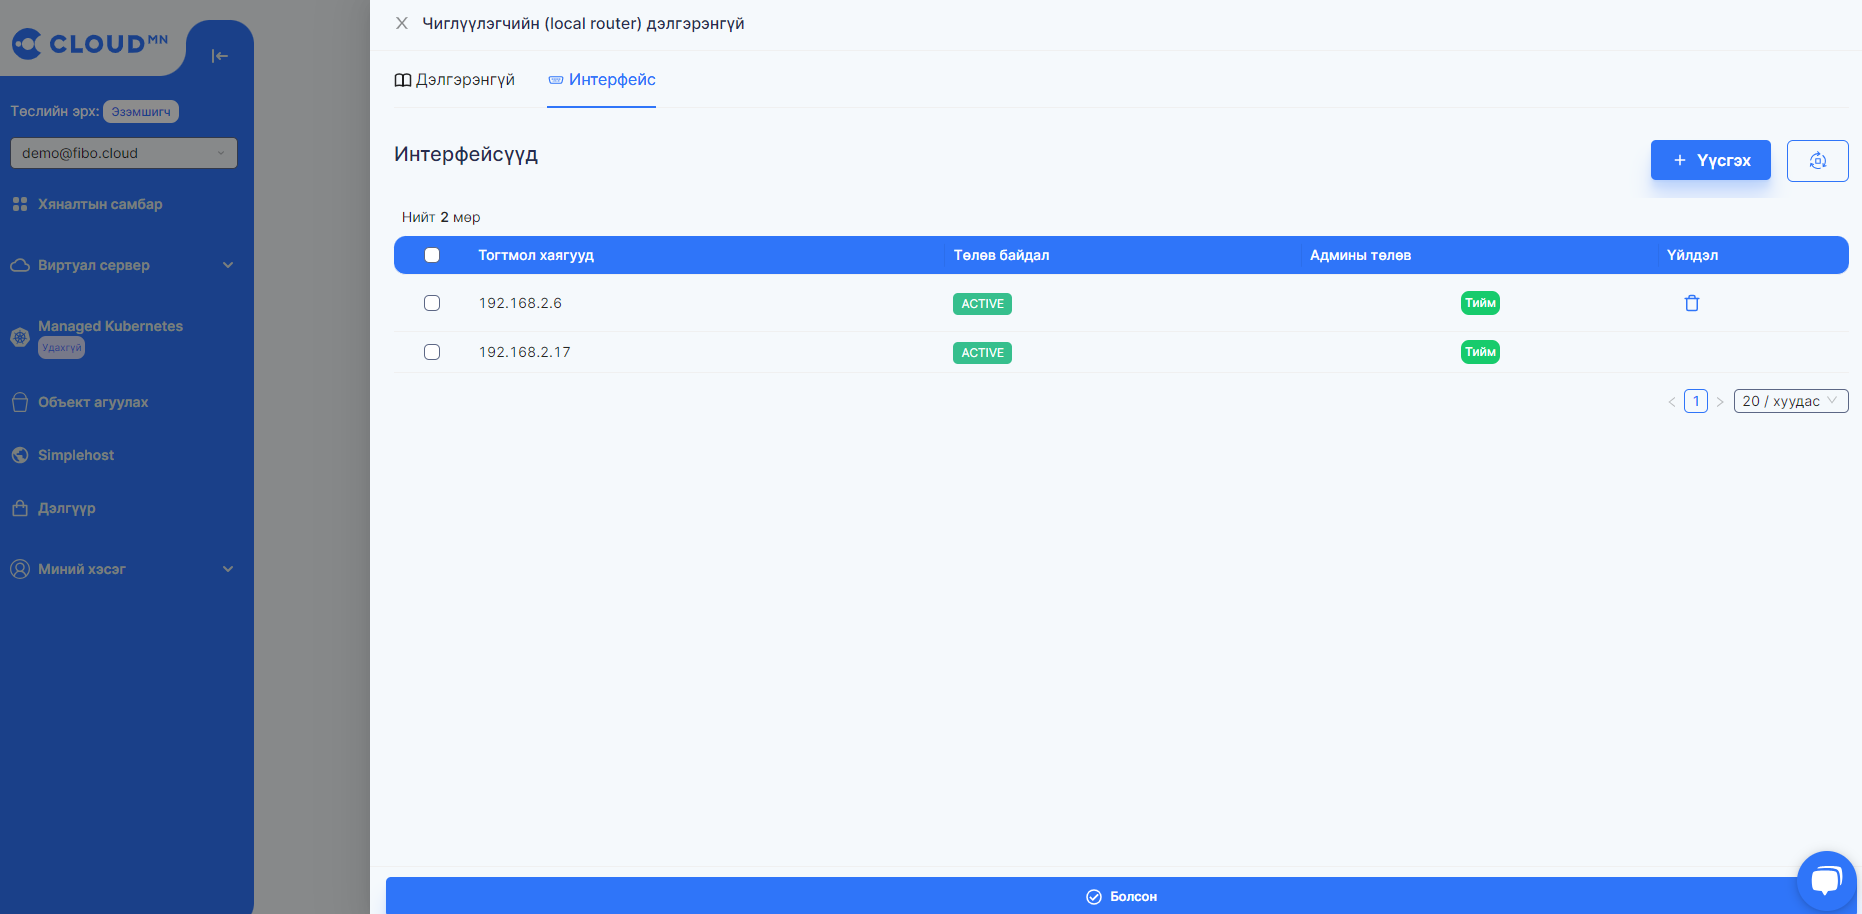
In order to connect the external address of the created loadbalancer to the private network, it is necessary to first create a router and configure the interface.
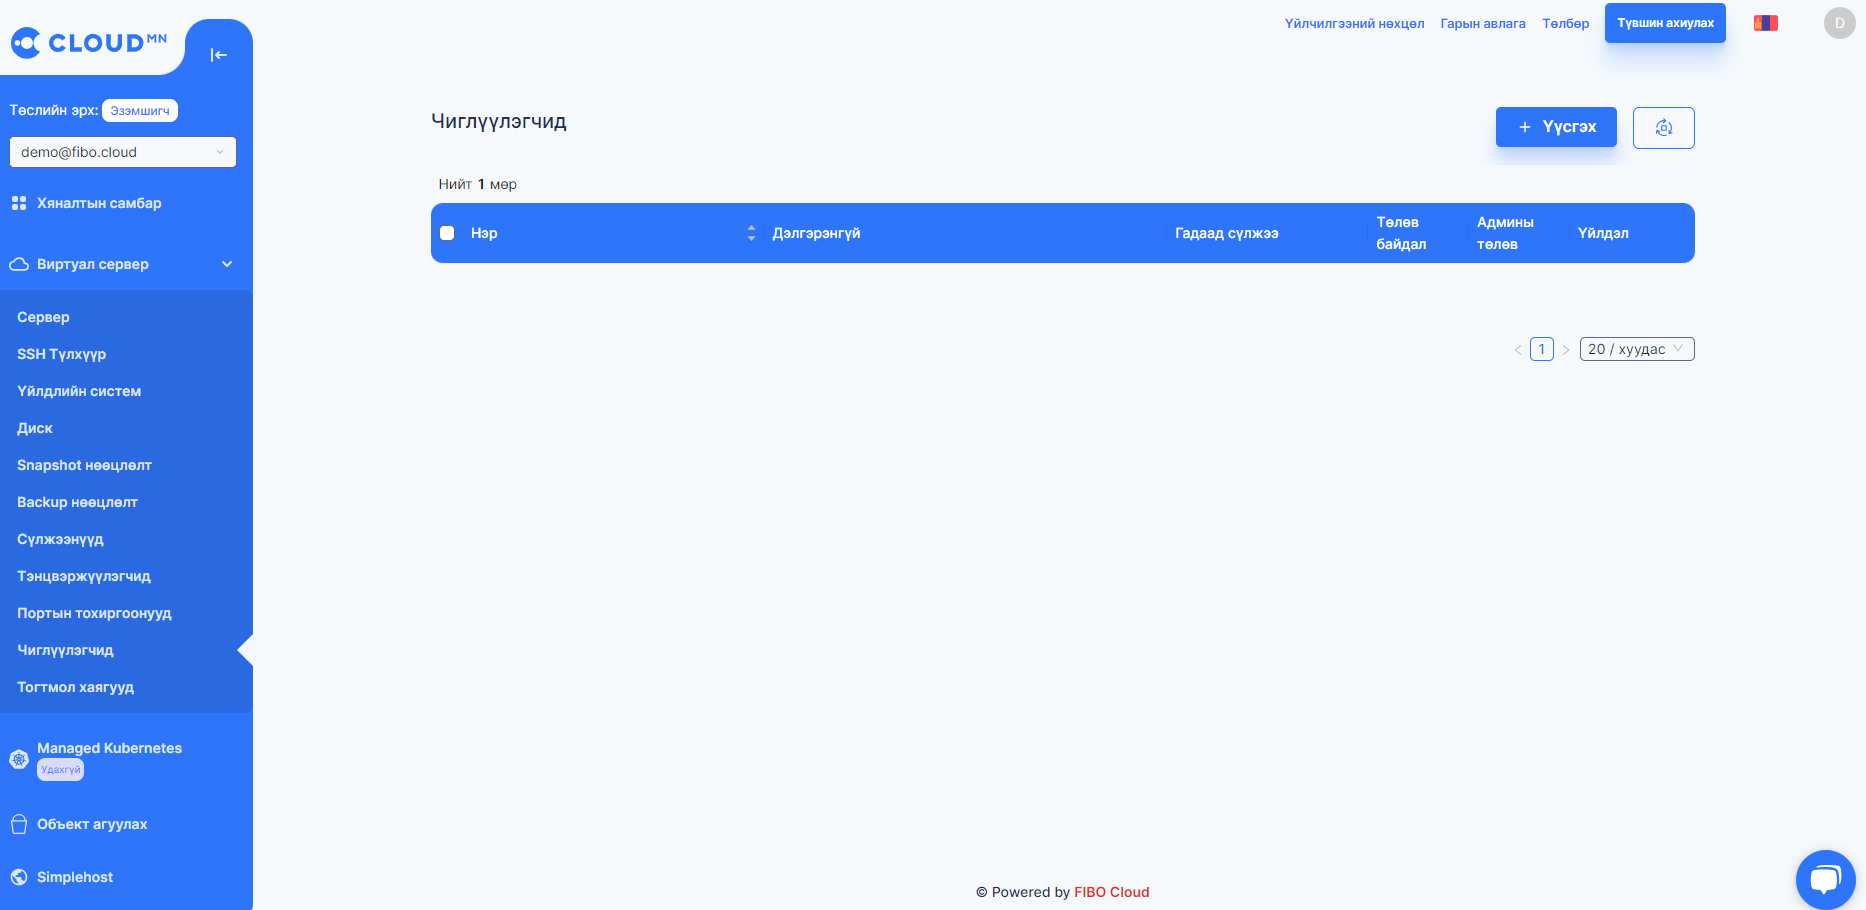
1.Left on the left hand side of Consumer Console Router to menu.
2.When creating the router, set its external network and admin state to Yes.

3.On the created router, configure the private network used by the loadbalancer as an interface on the router.
4.After that, a Floating IP address is created and connected to the loadbalancer. This way your balancer will have a external address.

5.After connecting the floating ip address, it will look like this.