Simplehost
Simplhost or web hosting to simplify the Documentation will be called "Simplehost".
Create Simplehost
- Left on the left hand side of Consumer Console Simplehost to menu.
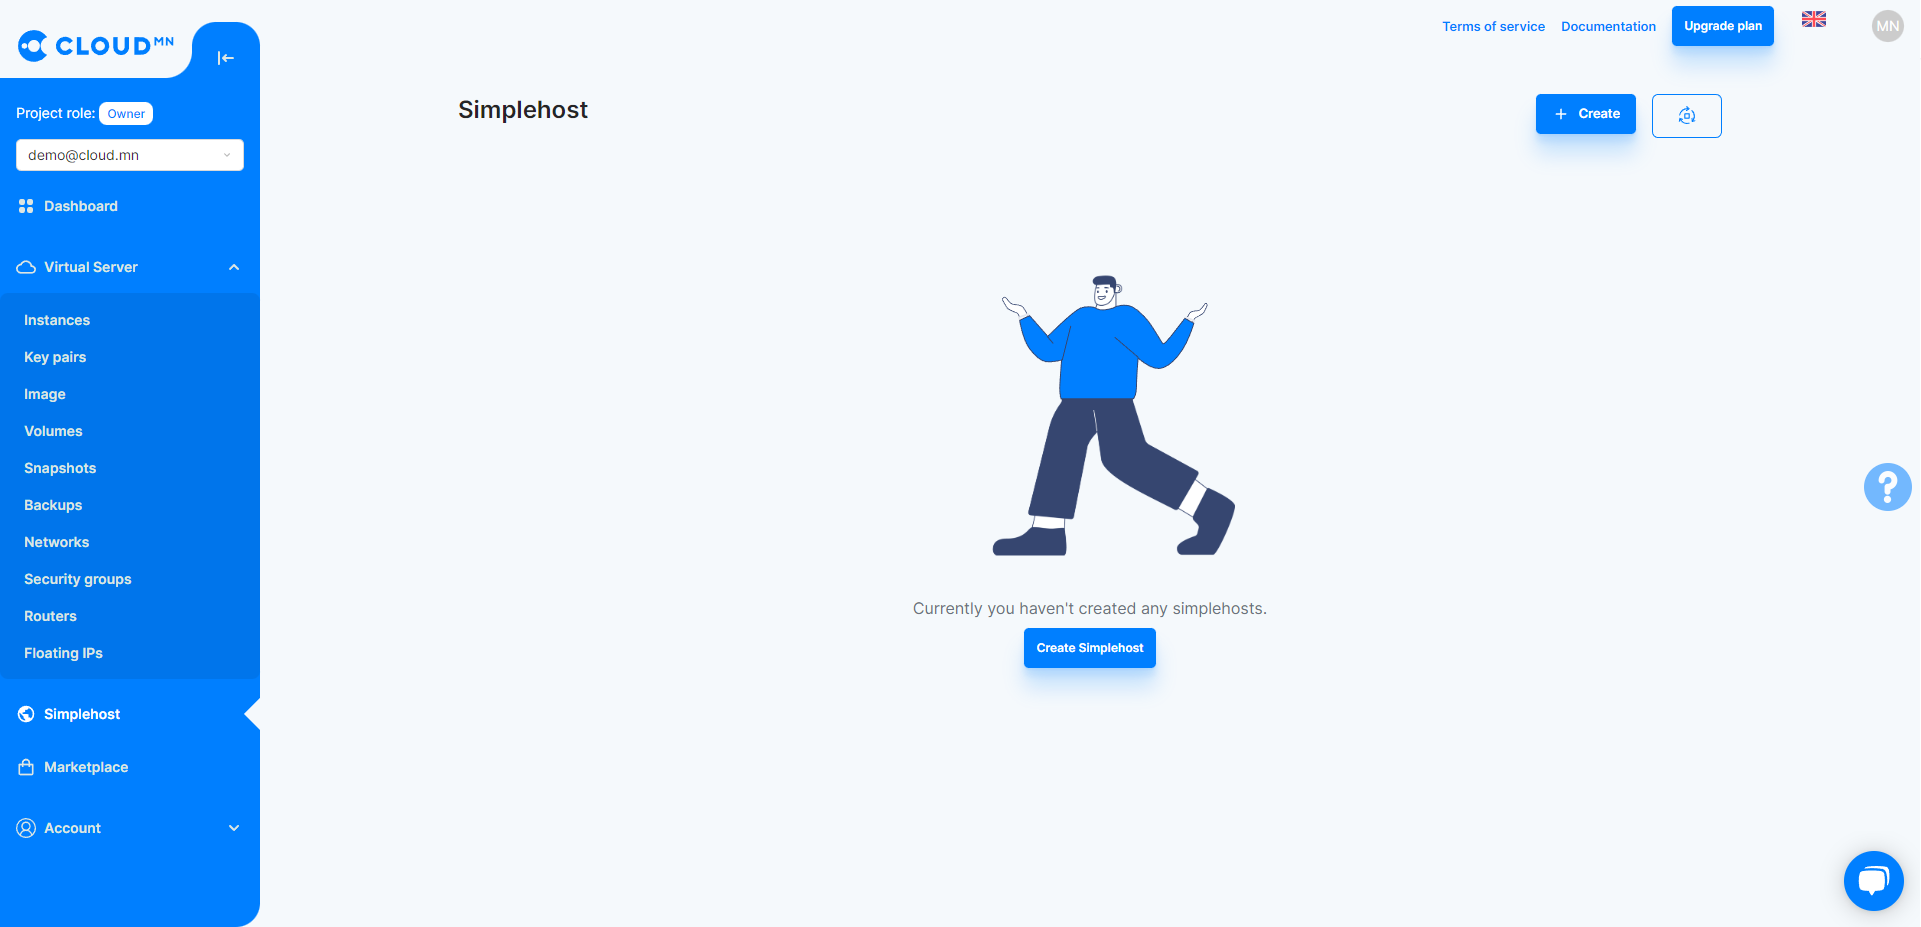
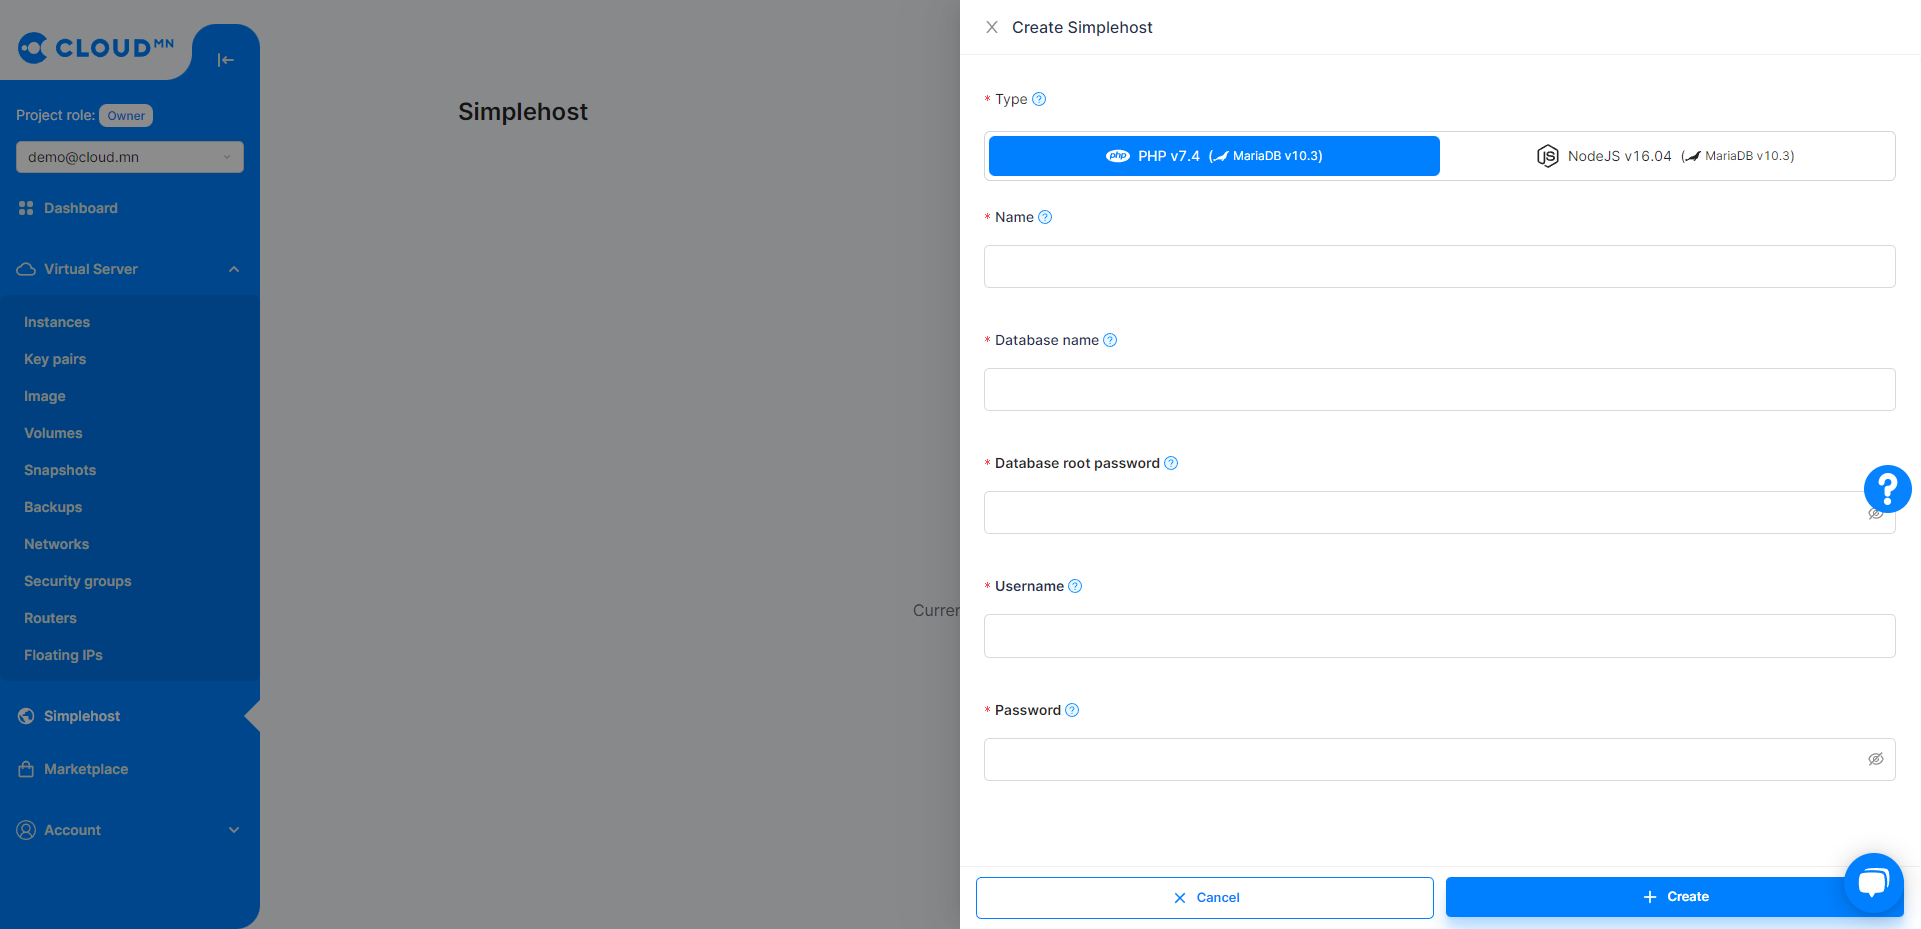
- Click Create App button. Simplehost presents several configuration. You can configure the following options:
- Name - Simplehost called name (be lowercase).
- Database - Default mysql database name.
- Database root password - Default mysql root password.
- Username - Default file manager and database username.
- Password - Default file manager and database password
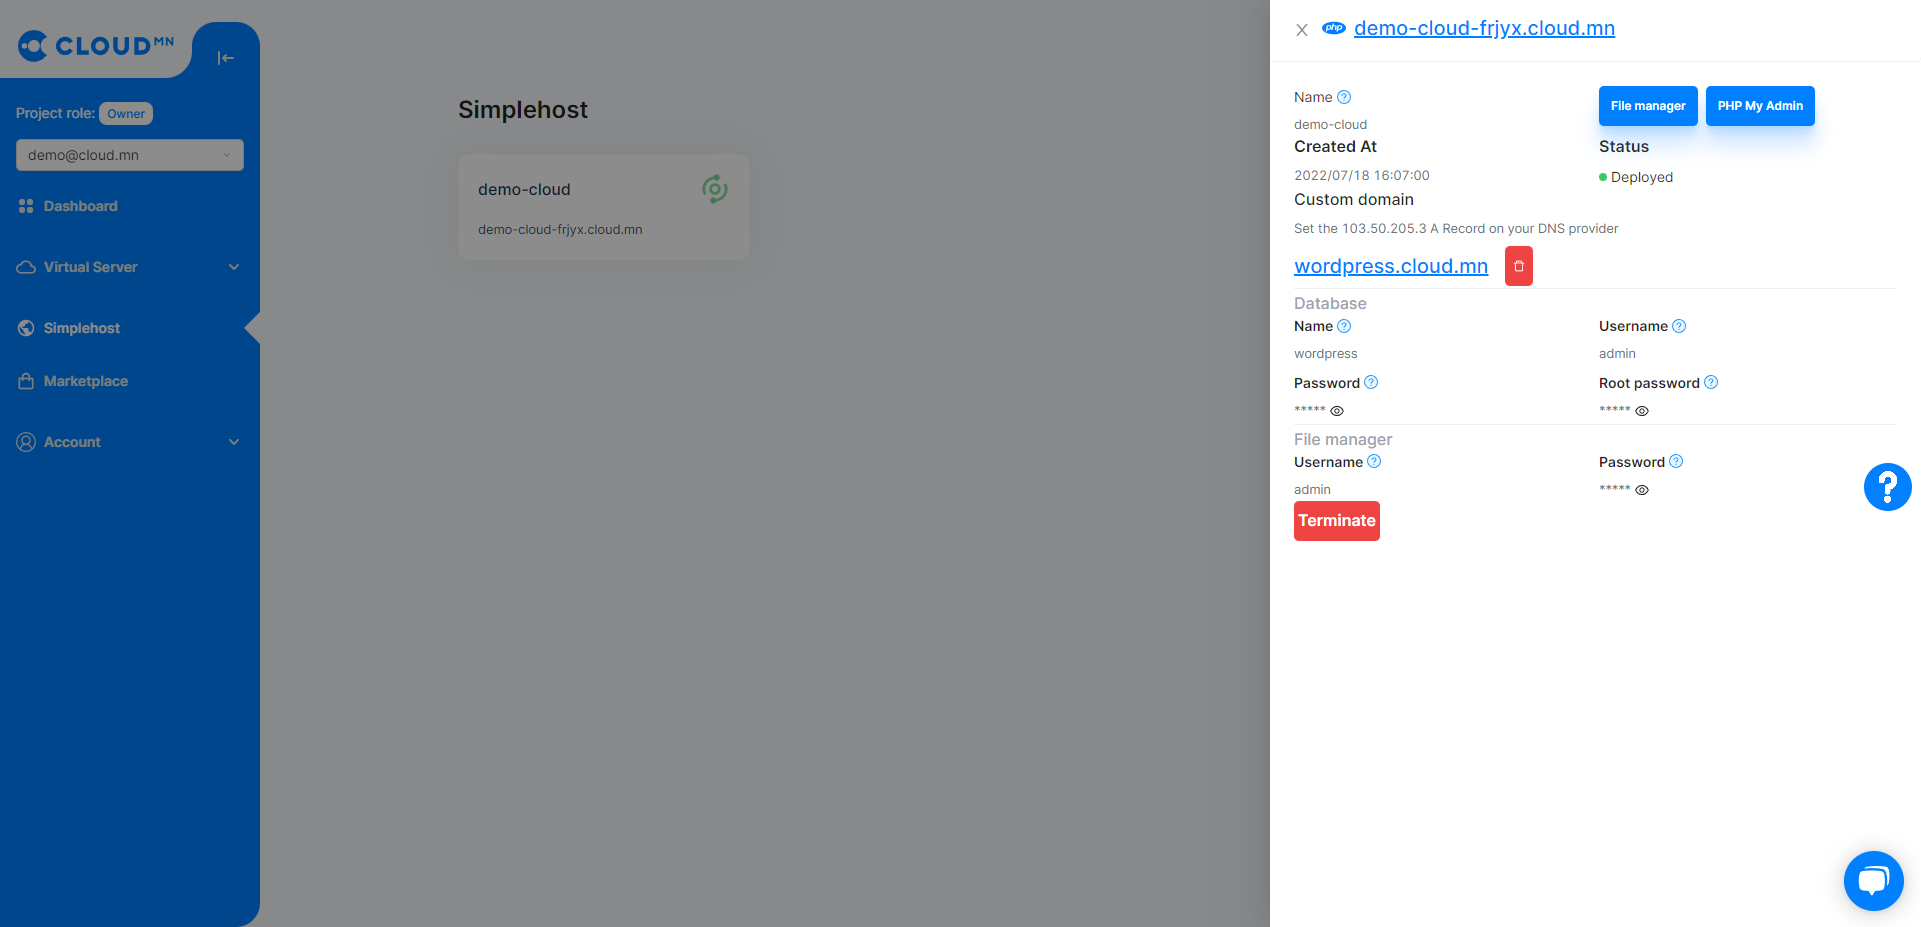
- Once your Simplehost deploys, you can view at the URL at detail page.
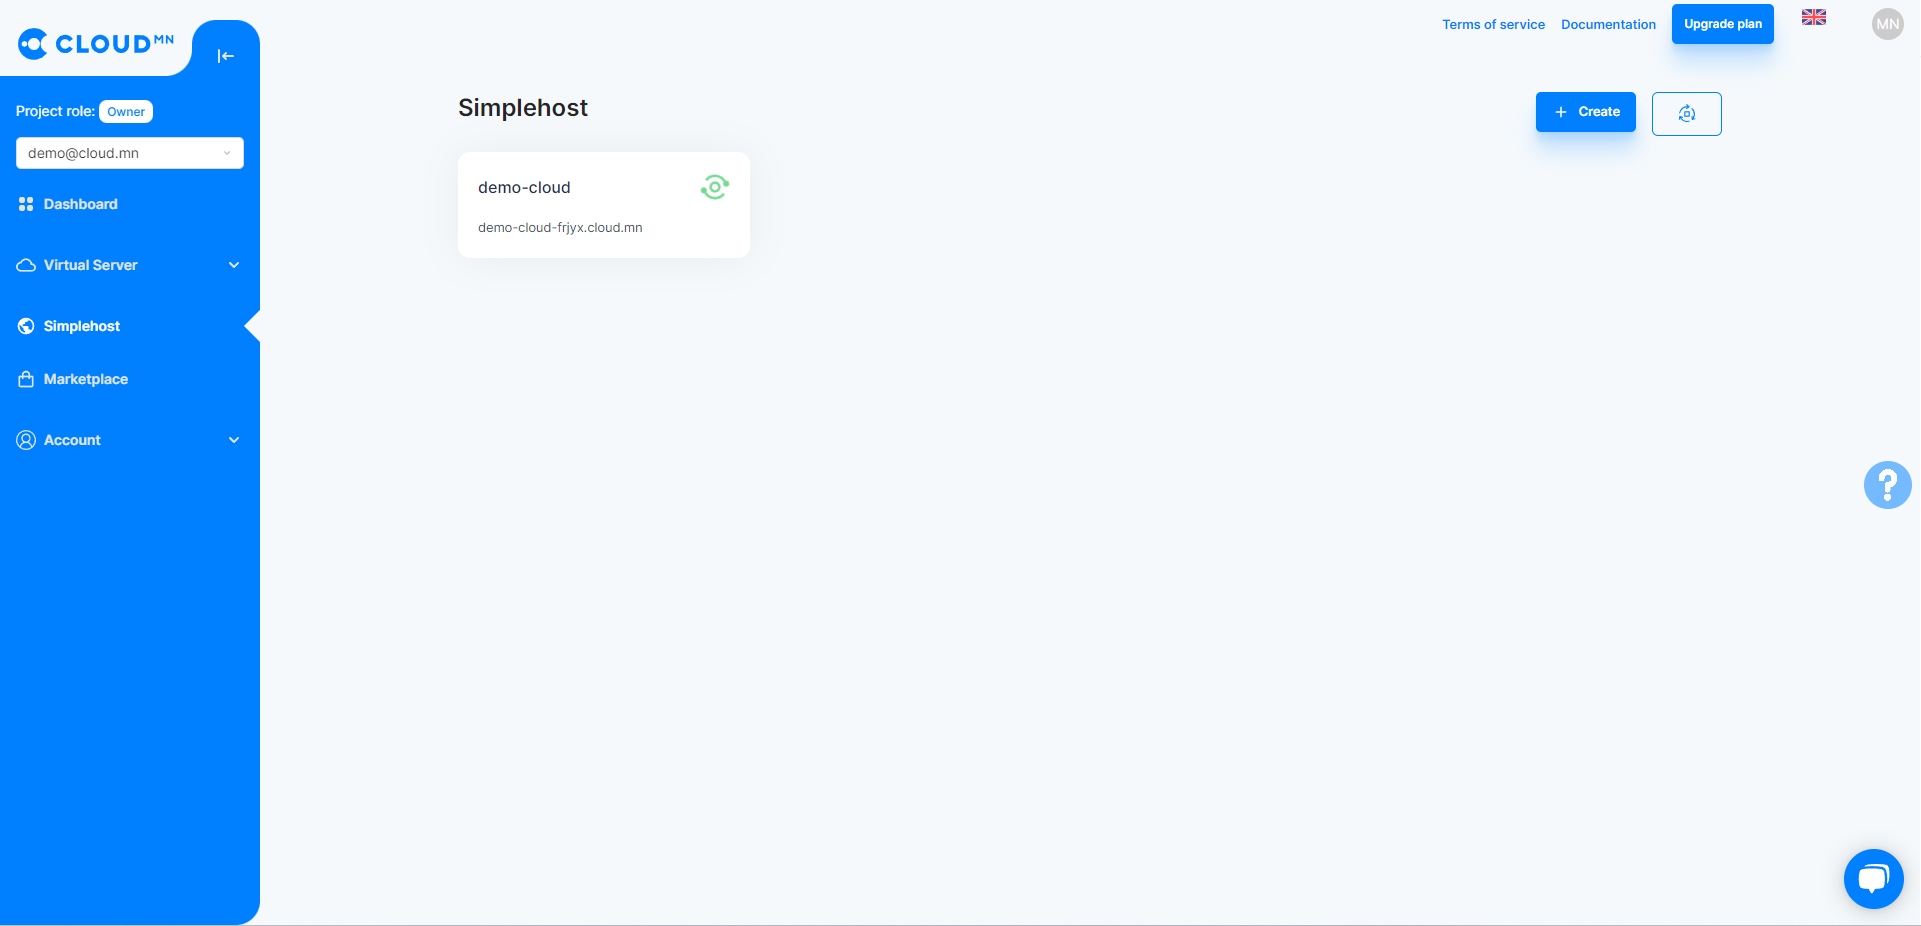
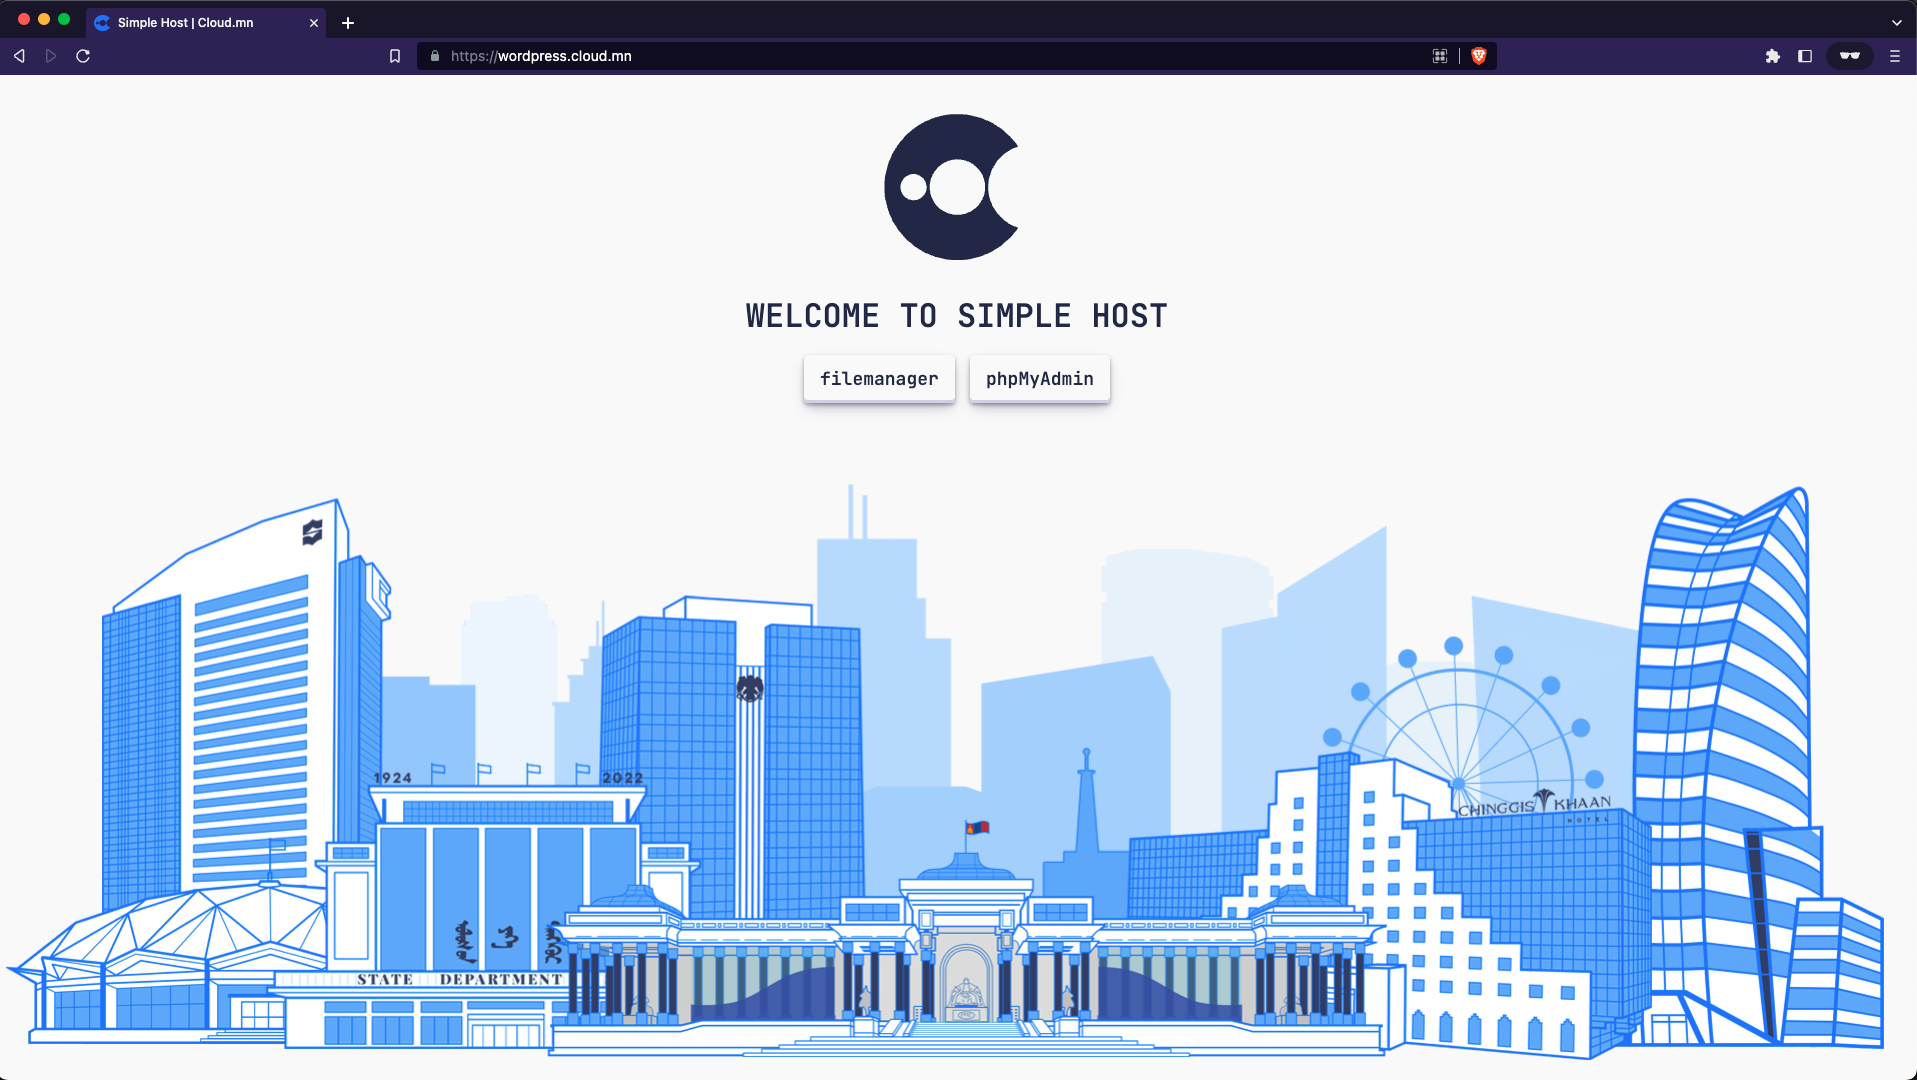
- After clicking on the generated Simplehost to access the web link with the domain name, the main page will be displayed.
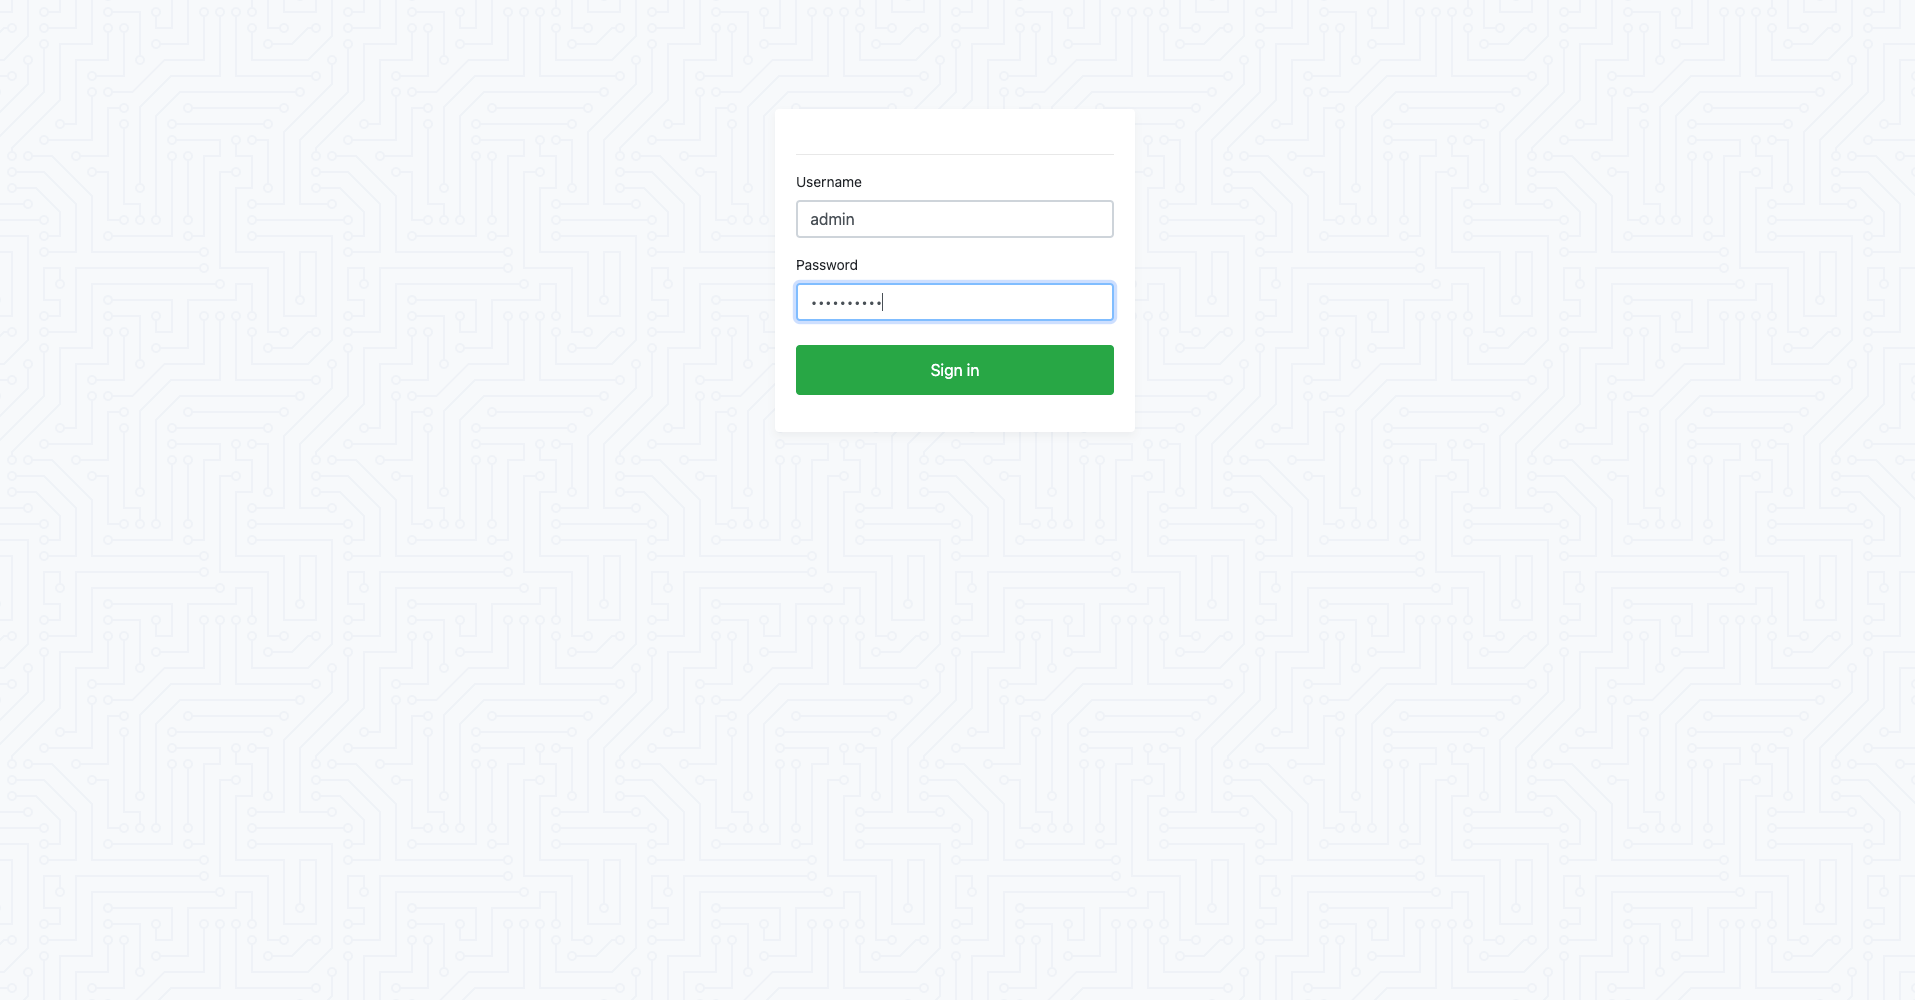
- You can then access the file manager and database using the username and password you created.
- Click the Copy button to copy the web files to be hosted. If the zip file is copied, it needs to be unzipped.
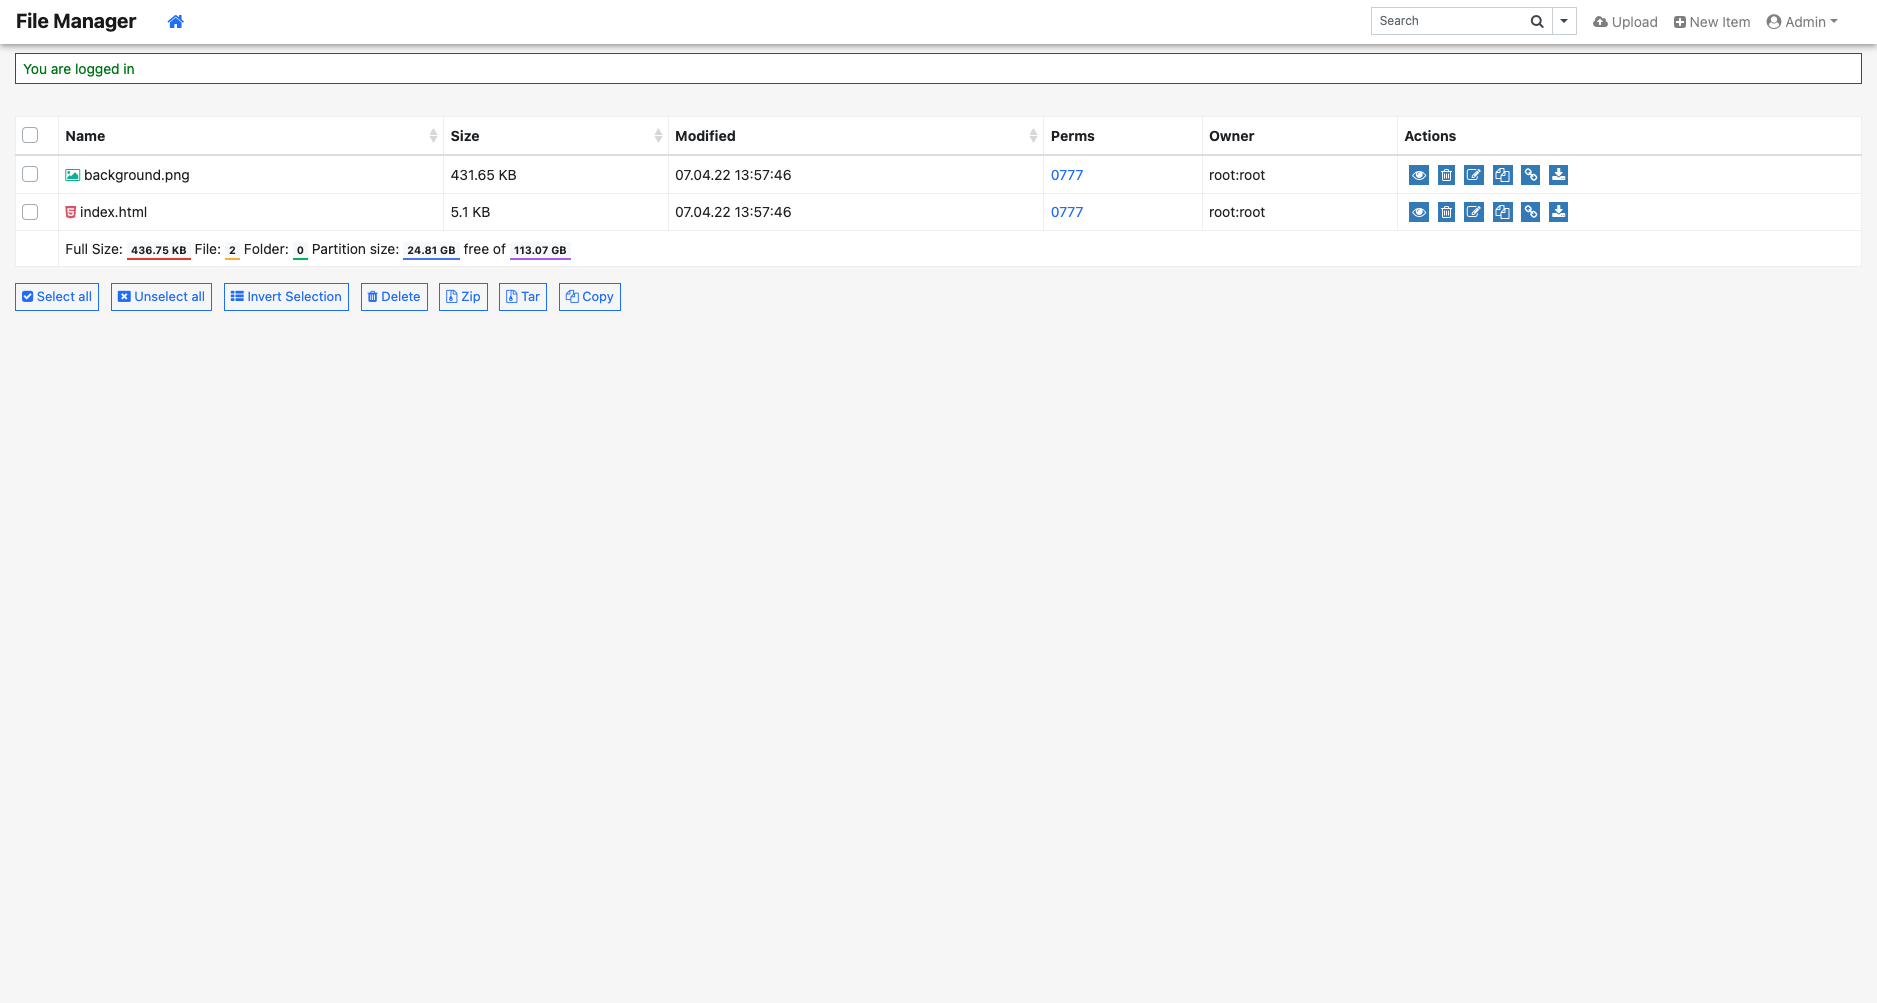
- Access the web link by writing the name of the copied folder after the simplehost domain name.
- Ex: simplehost.cloud.mn/wordpress/
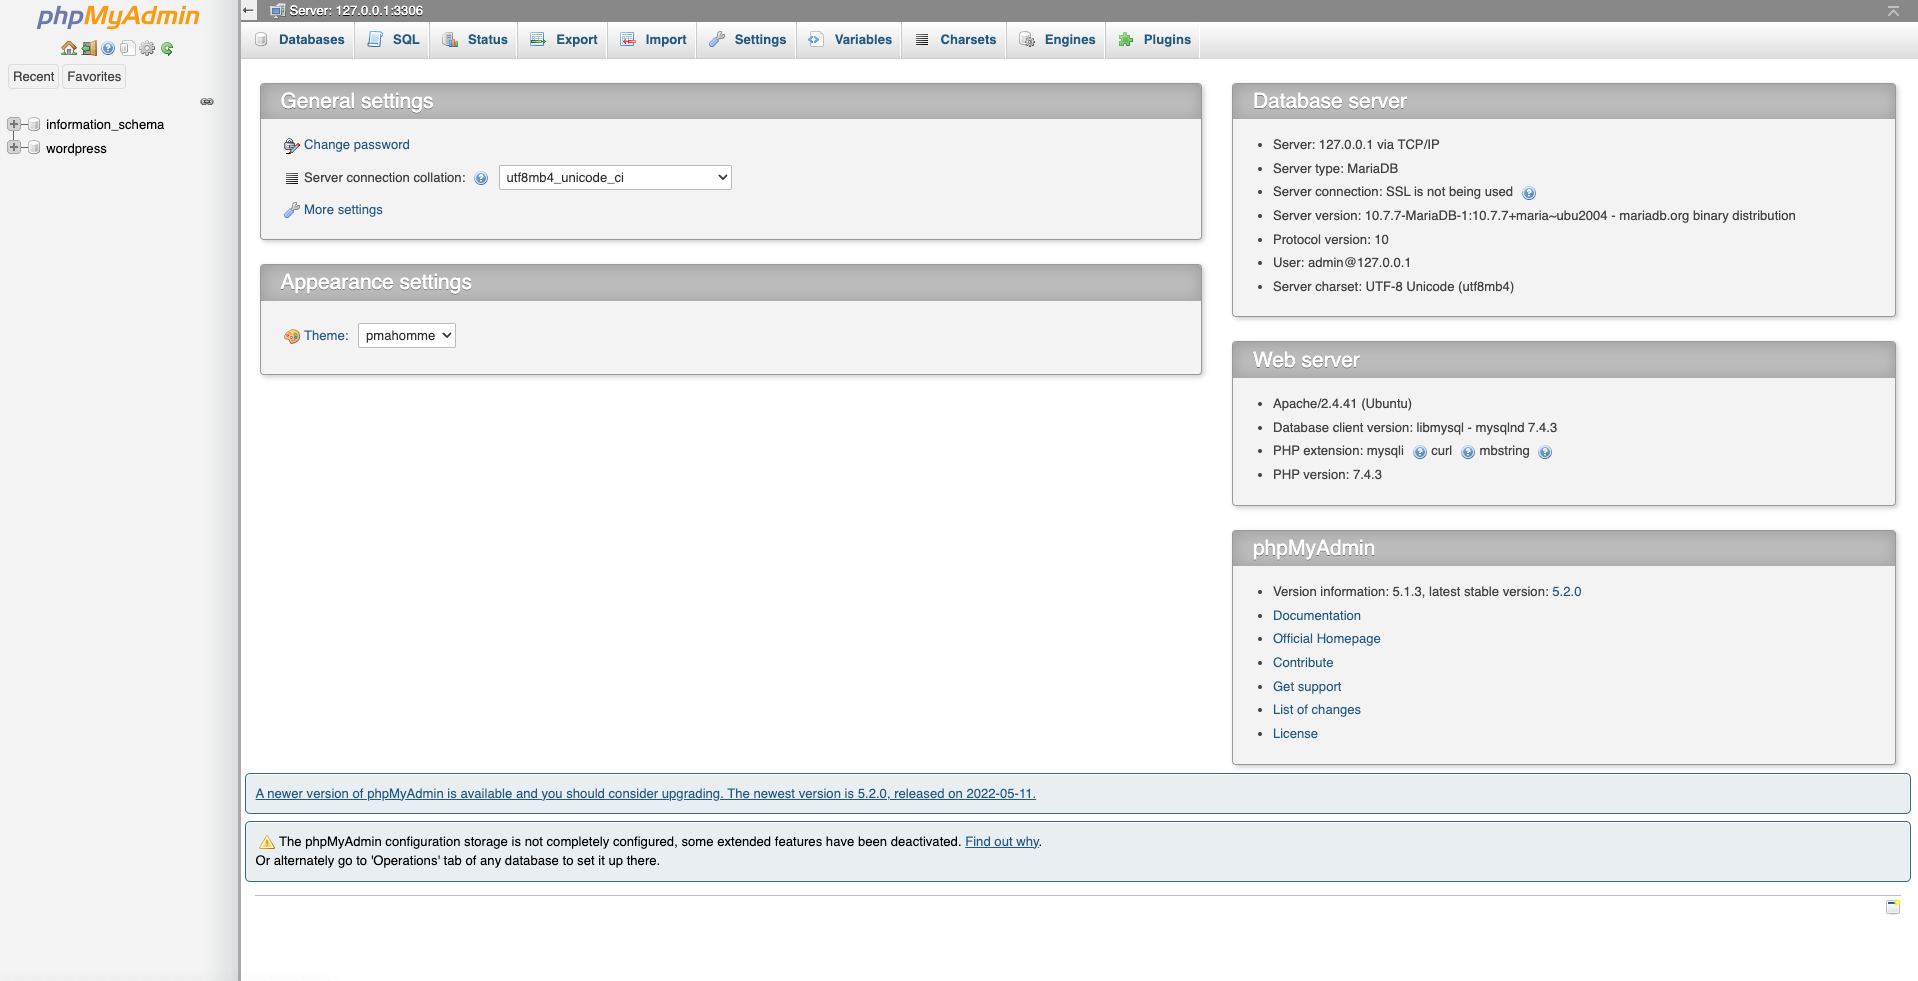
- After clicking the phpMyAdmin button on the main page, jump to the web link and enter the username and password you entered when creating simplehost. Leave the Server field blank.
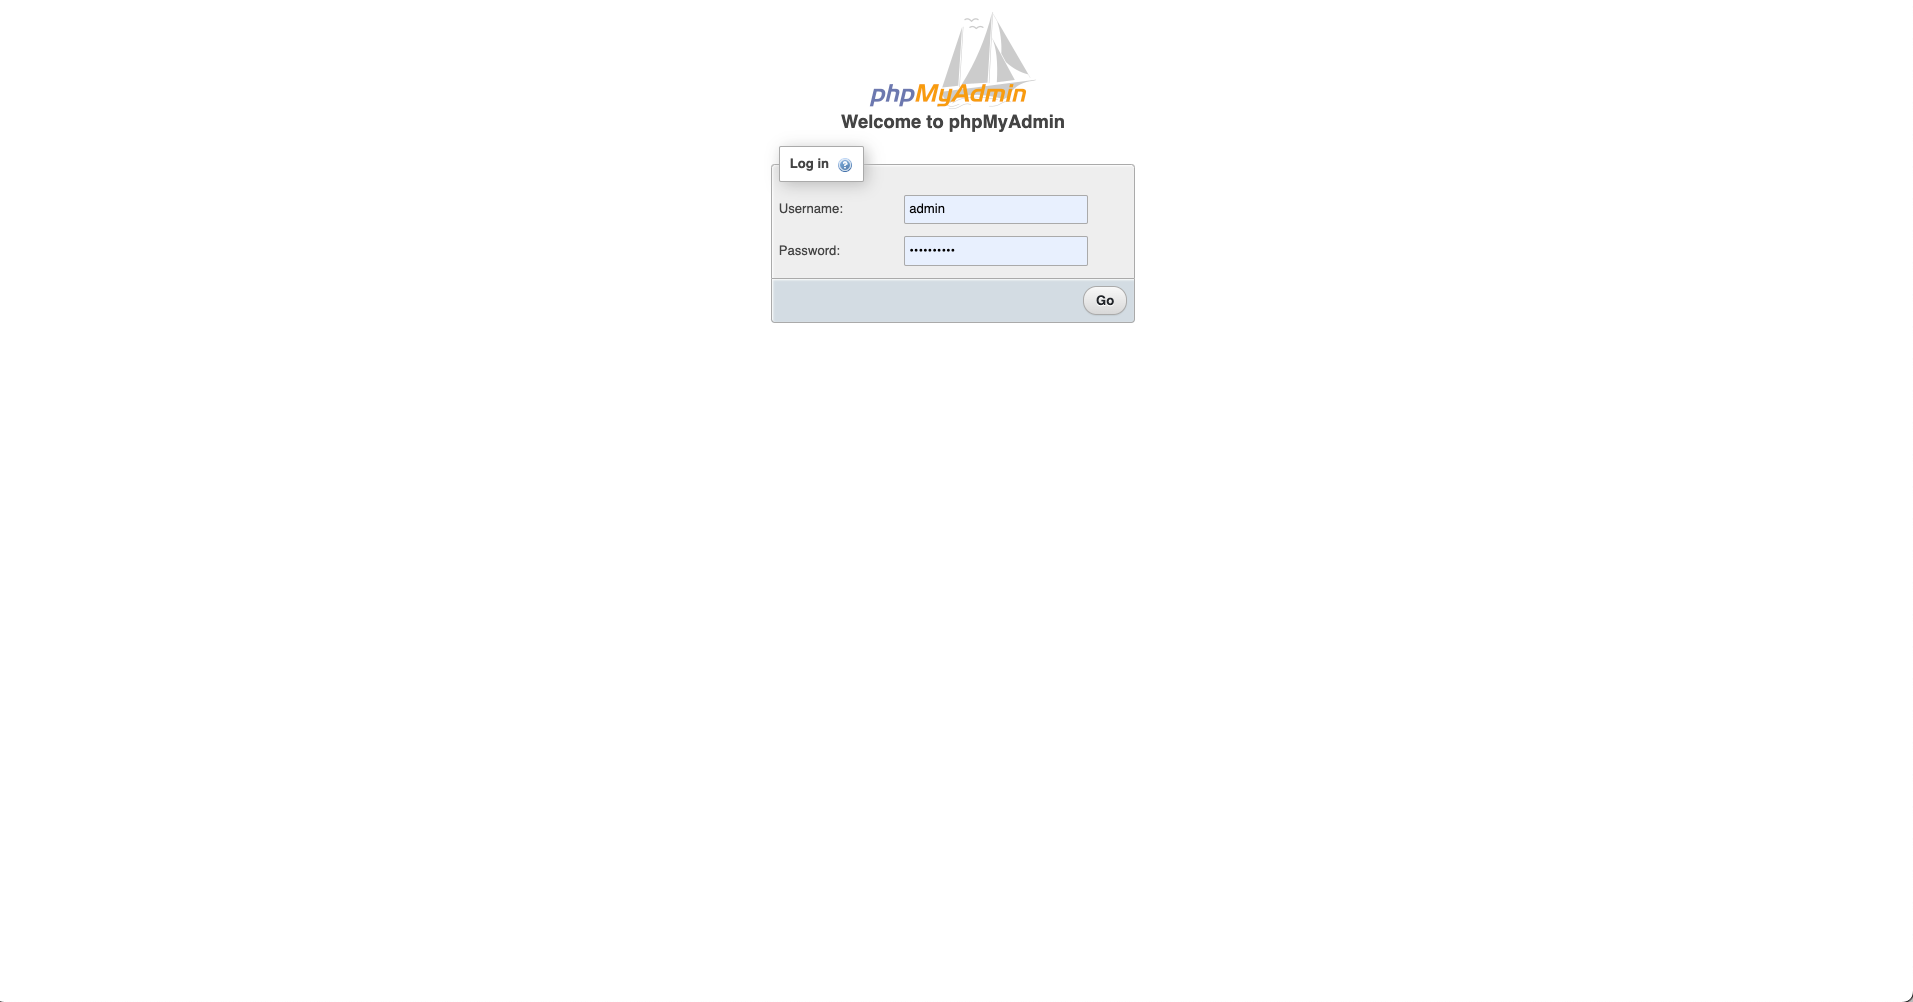
- Use the phpMyAdmin server link to connect to the database..
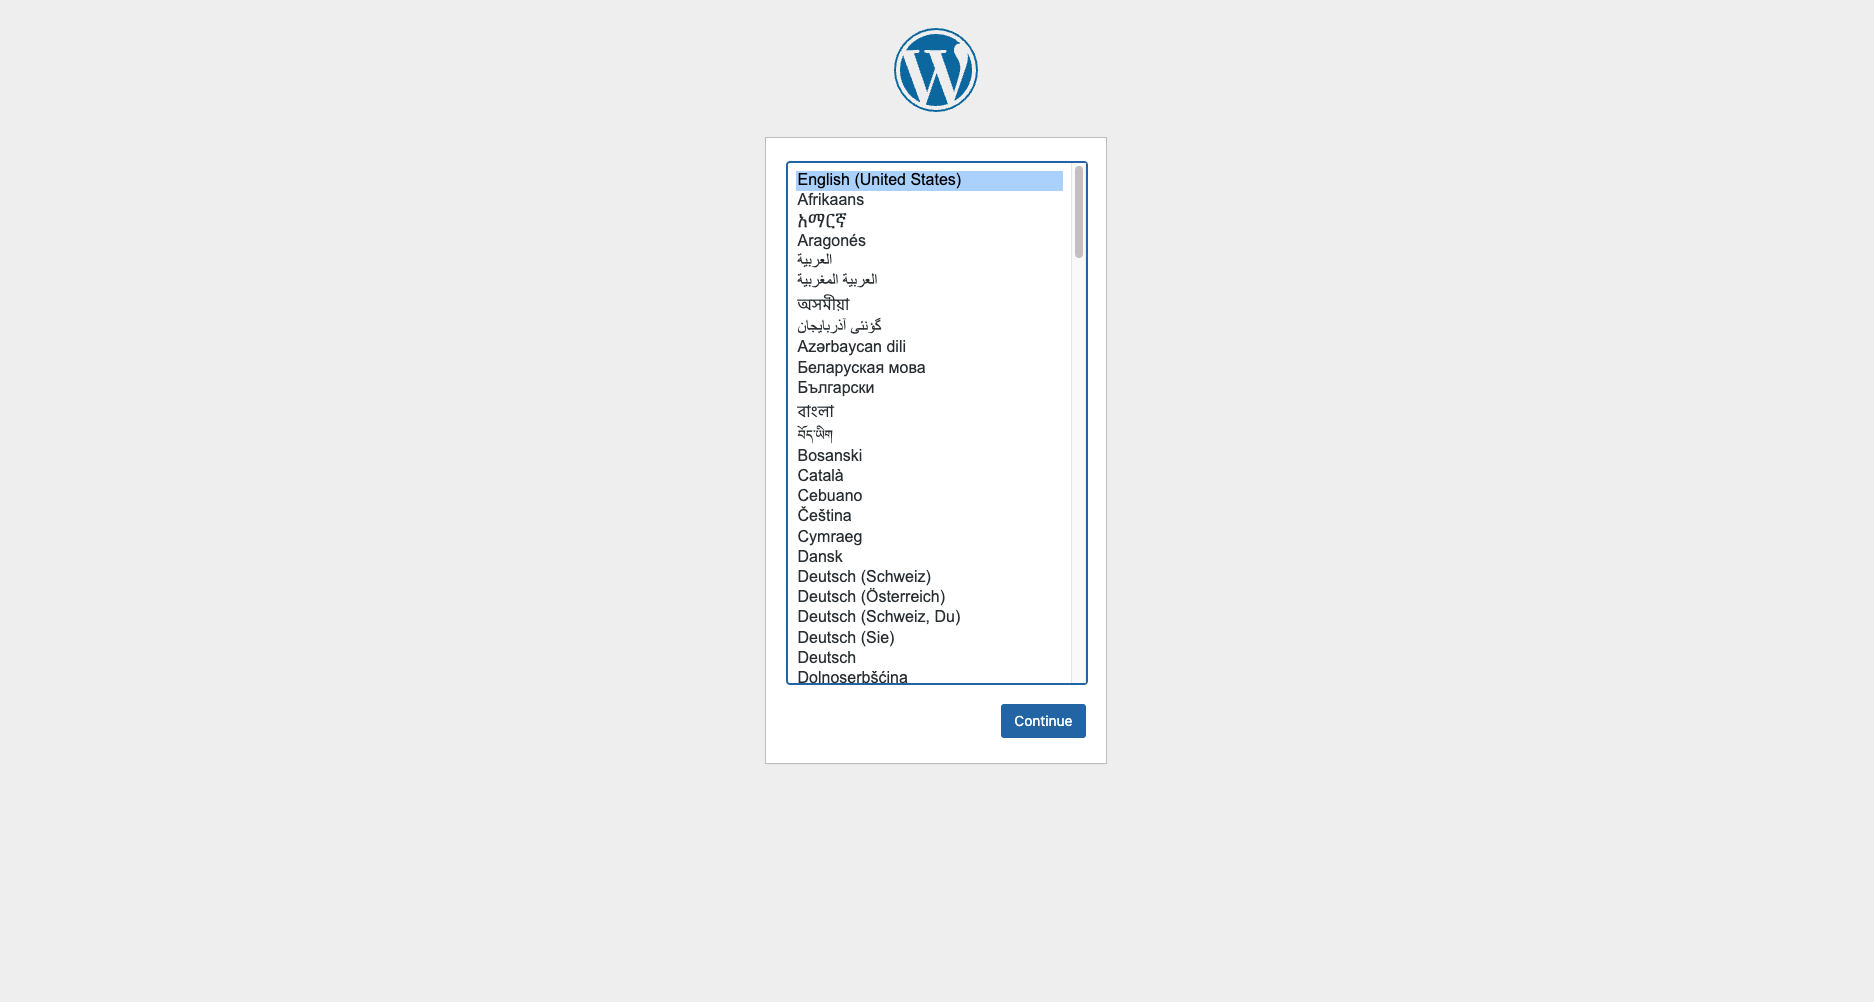
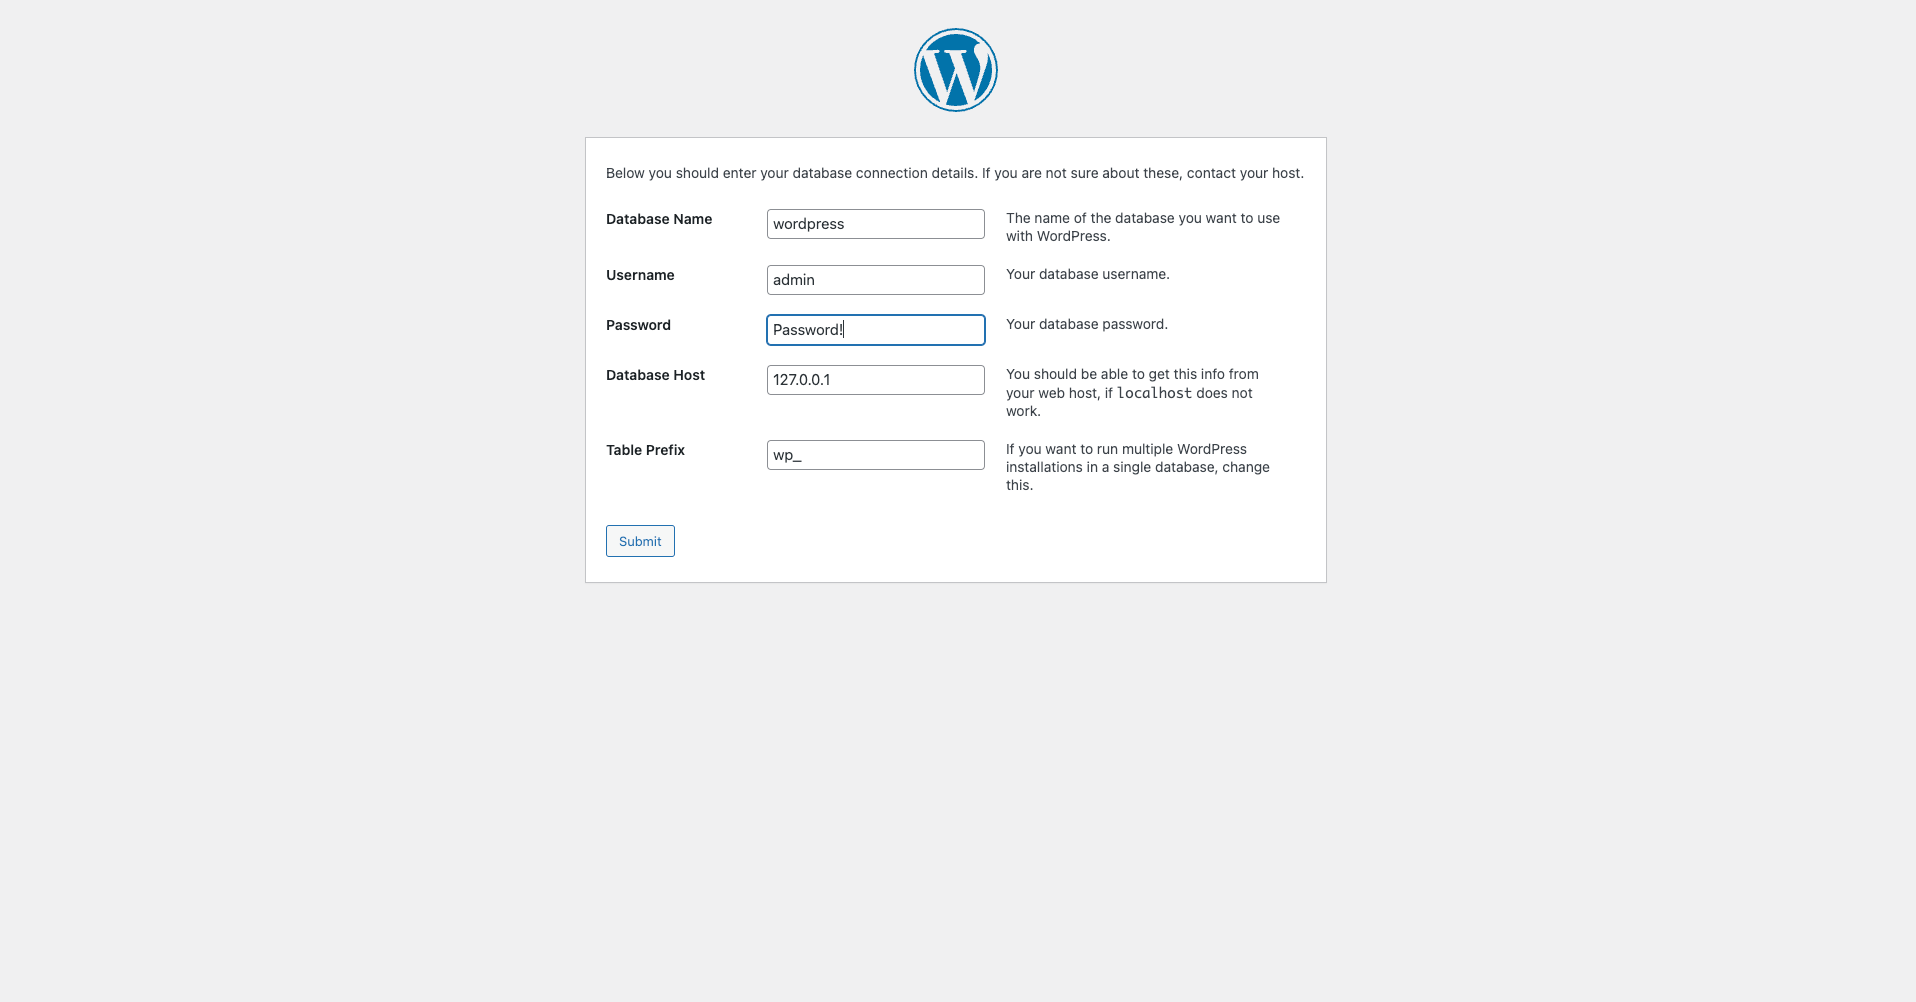
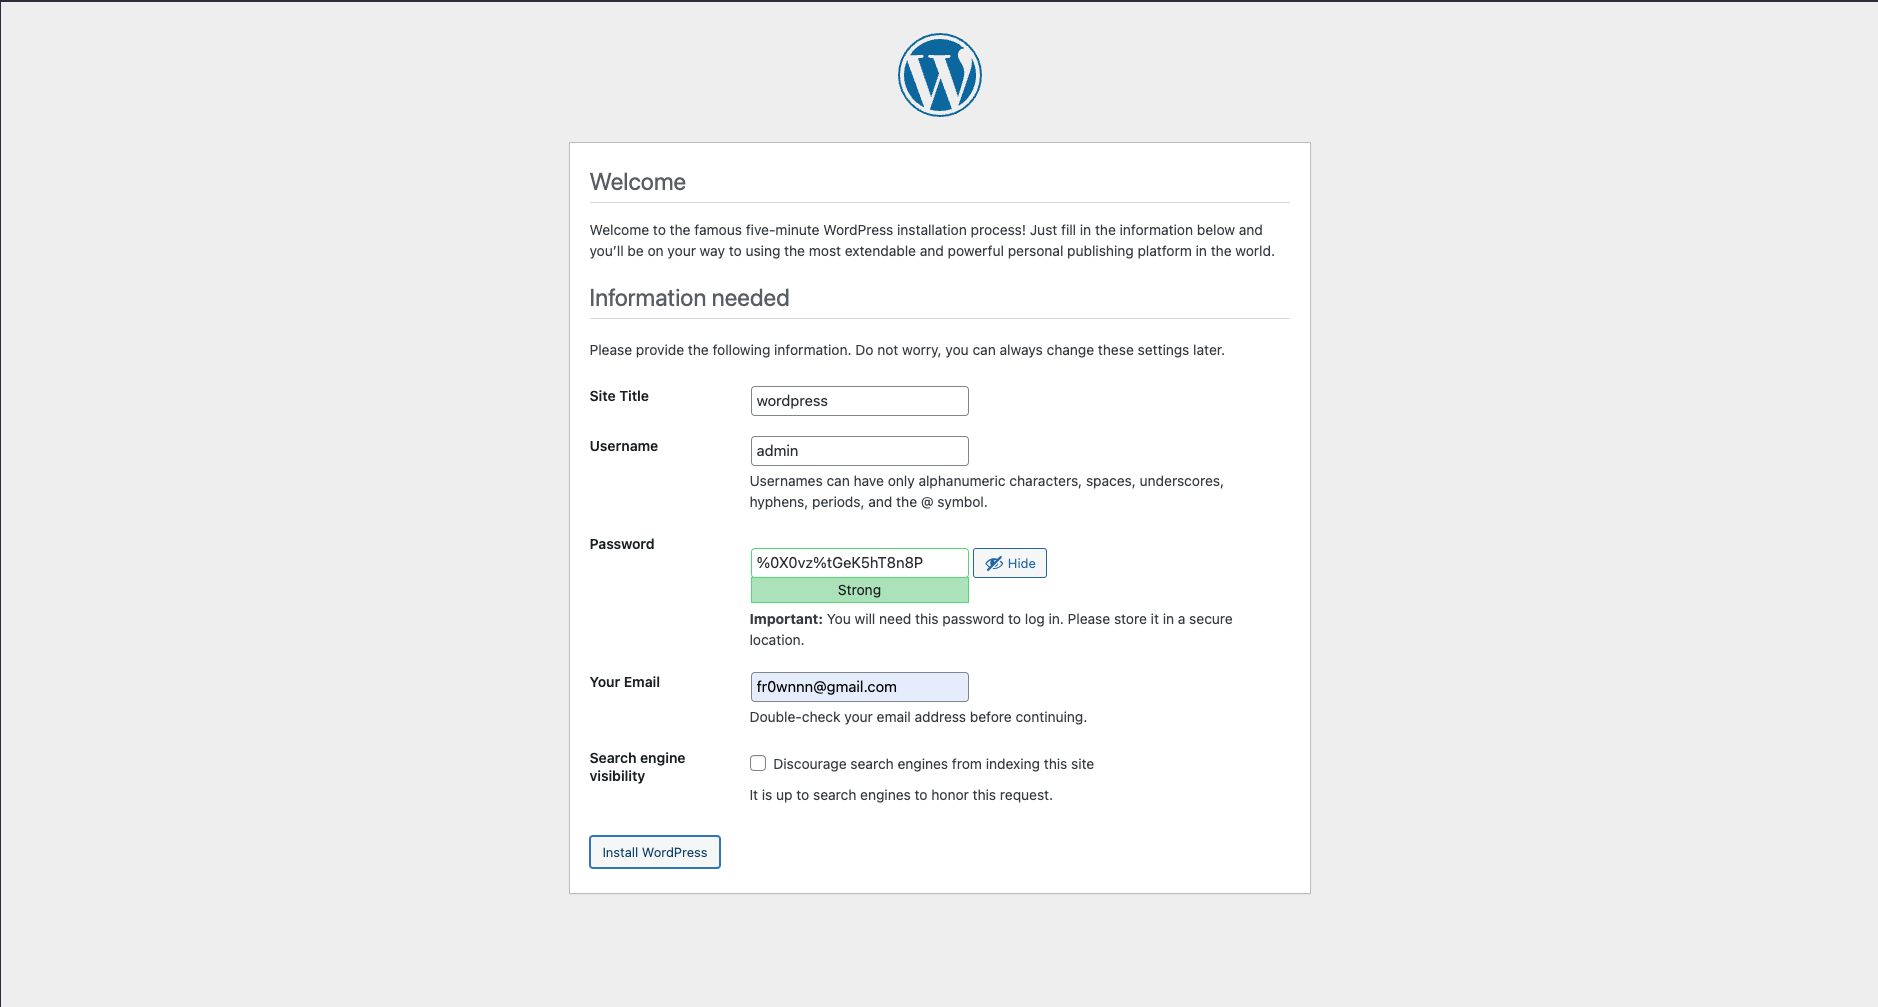
- Enter WordPress website admin settings.
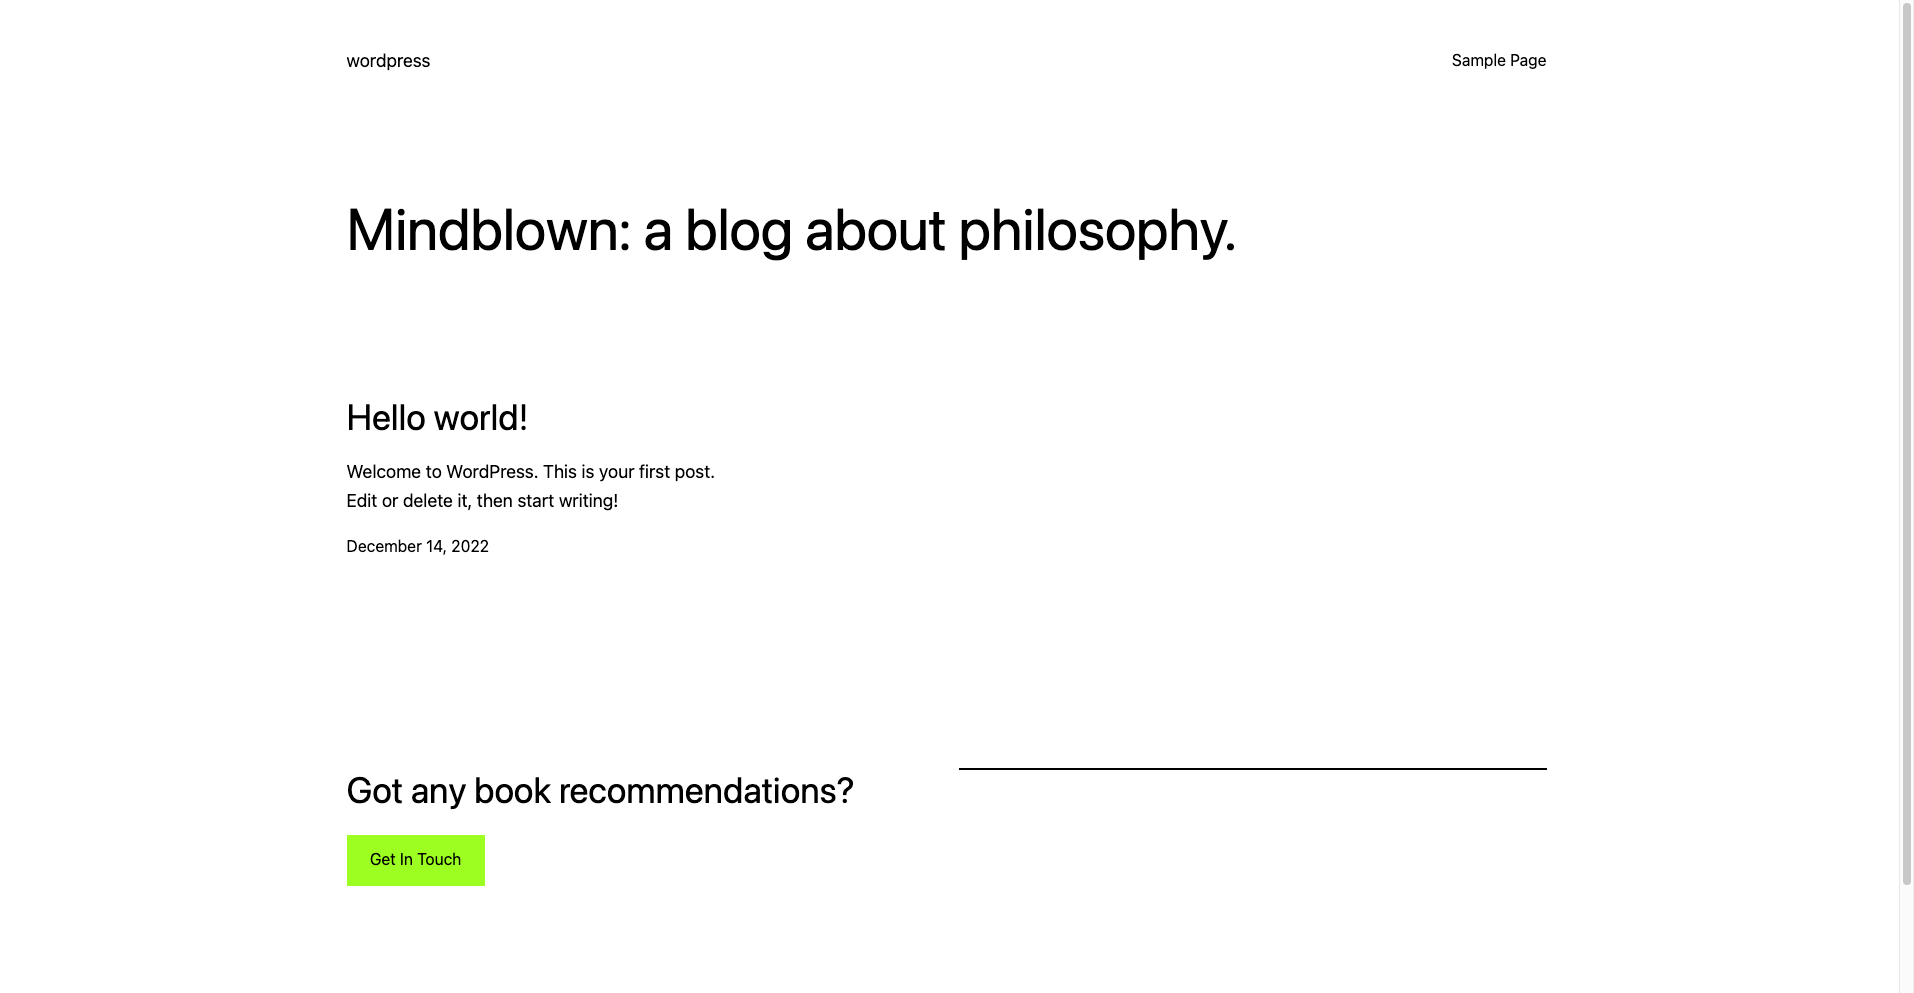
- Access the Wordpress website as an admin.
- After logging into the Wordpress website with admin rights, the result will look like this.
How to Manage Domains in Simplehost
- To use your domain address with simplehost, enter your domain and click the Add button.
- Add A record on your DNS servers.
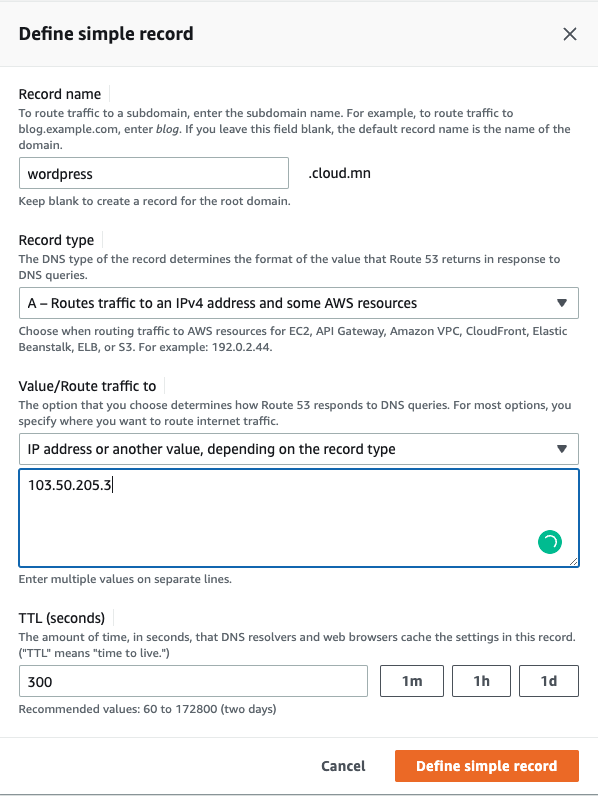
- It appears as follows.