Project
What is a project?
Project means sharing the server and financial management part that you are using with others. The project includes server, disk, network, port settings, IP addresses, WAF, SSH keys, backups, etc., and allows other people (developers) access to these resources. It will also be possible to send and view payment information by connecting the information of the financial or payment staff.
When you create a server, create a new project and create your server on that project, you can add the following permissions to each project. Project Rights:
- Owner - the person who originally created the project
- Payer - the person who pays for the project
- User - developer and user of the project. It includes three types of people.
The purpose of creating a project is to separate the roles of those involved in server administration.
For example: If you are not a paying member of the service, you can invite a paying member to go to the billing-only payer email address. In other words, if you have a large number of servers from different owners, the payment for each server goes to each payer of the project, making it easier for the owner.
One project will be automatically created for each person who creates an account.
How to create a project?
Create a project
- Click on the Project section of the Account menu on the left-hand side of the user console.
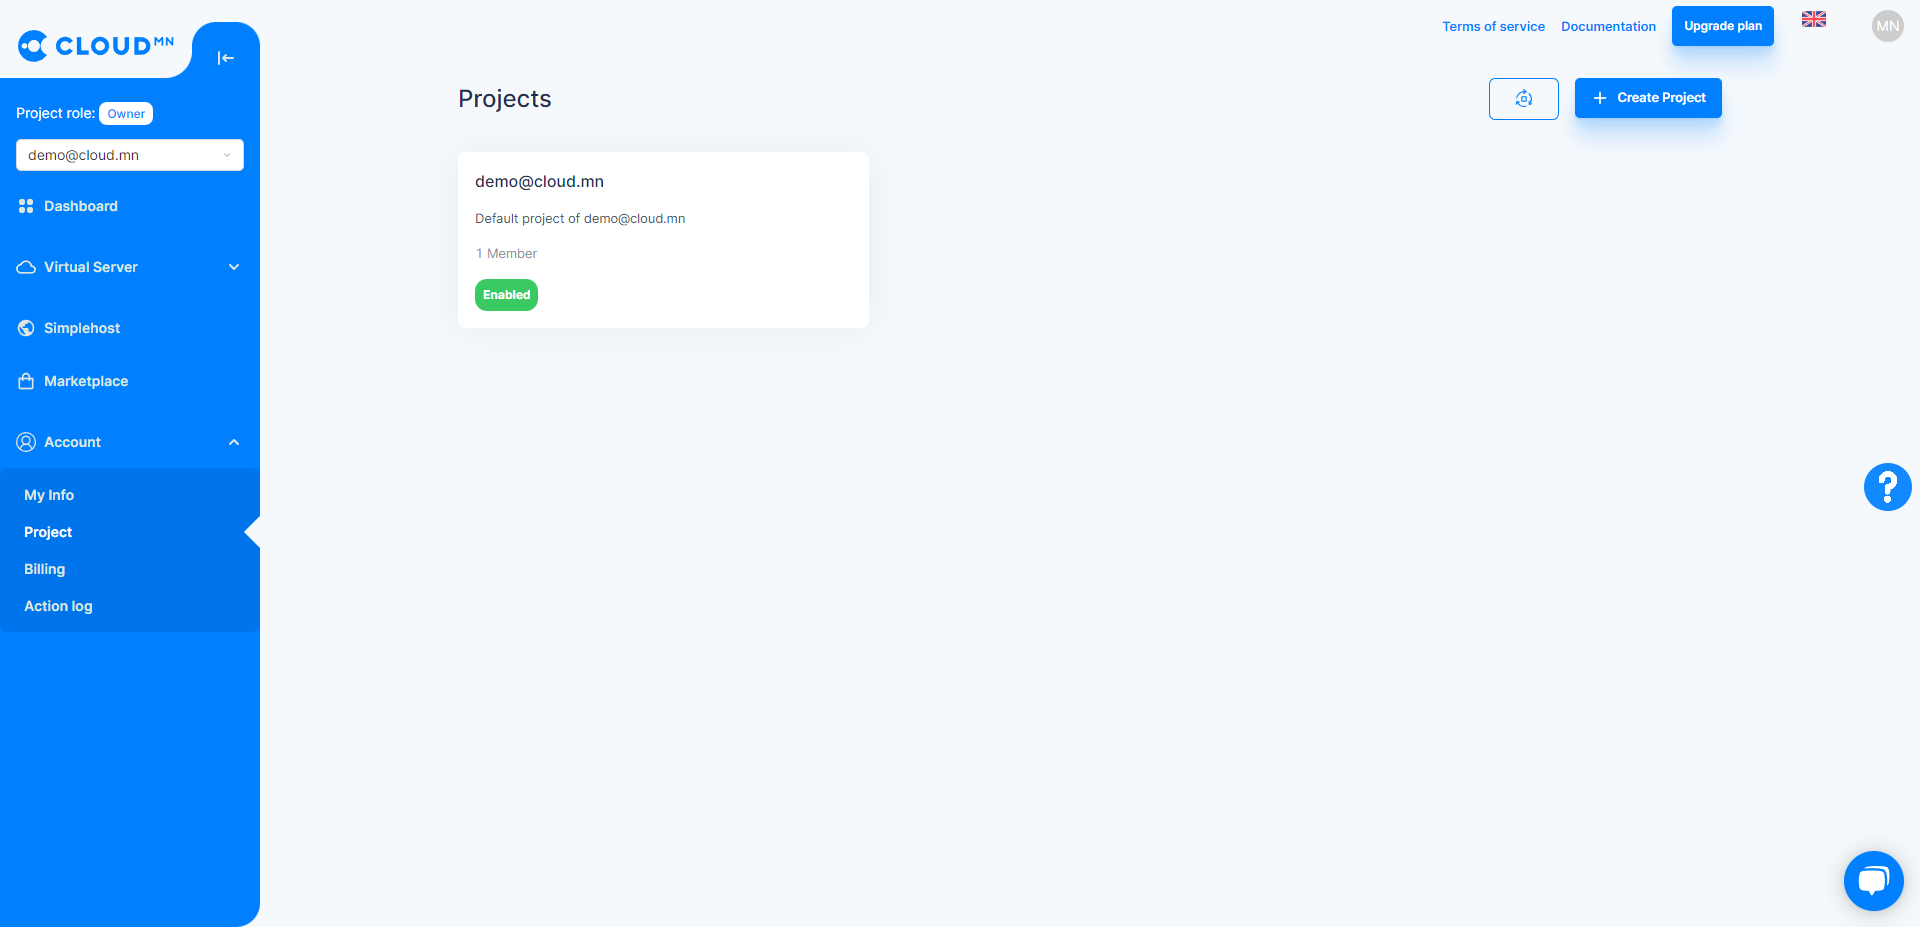
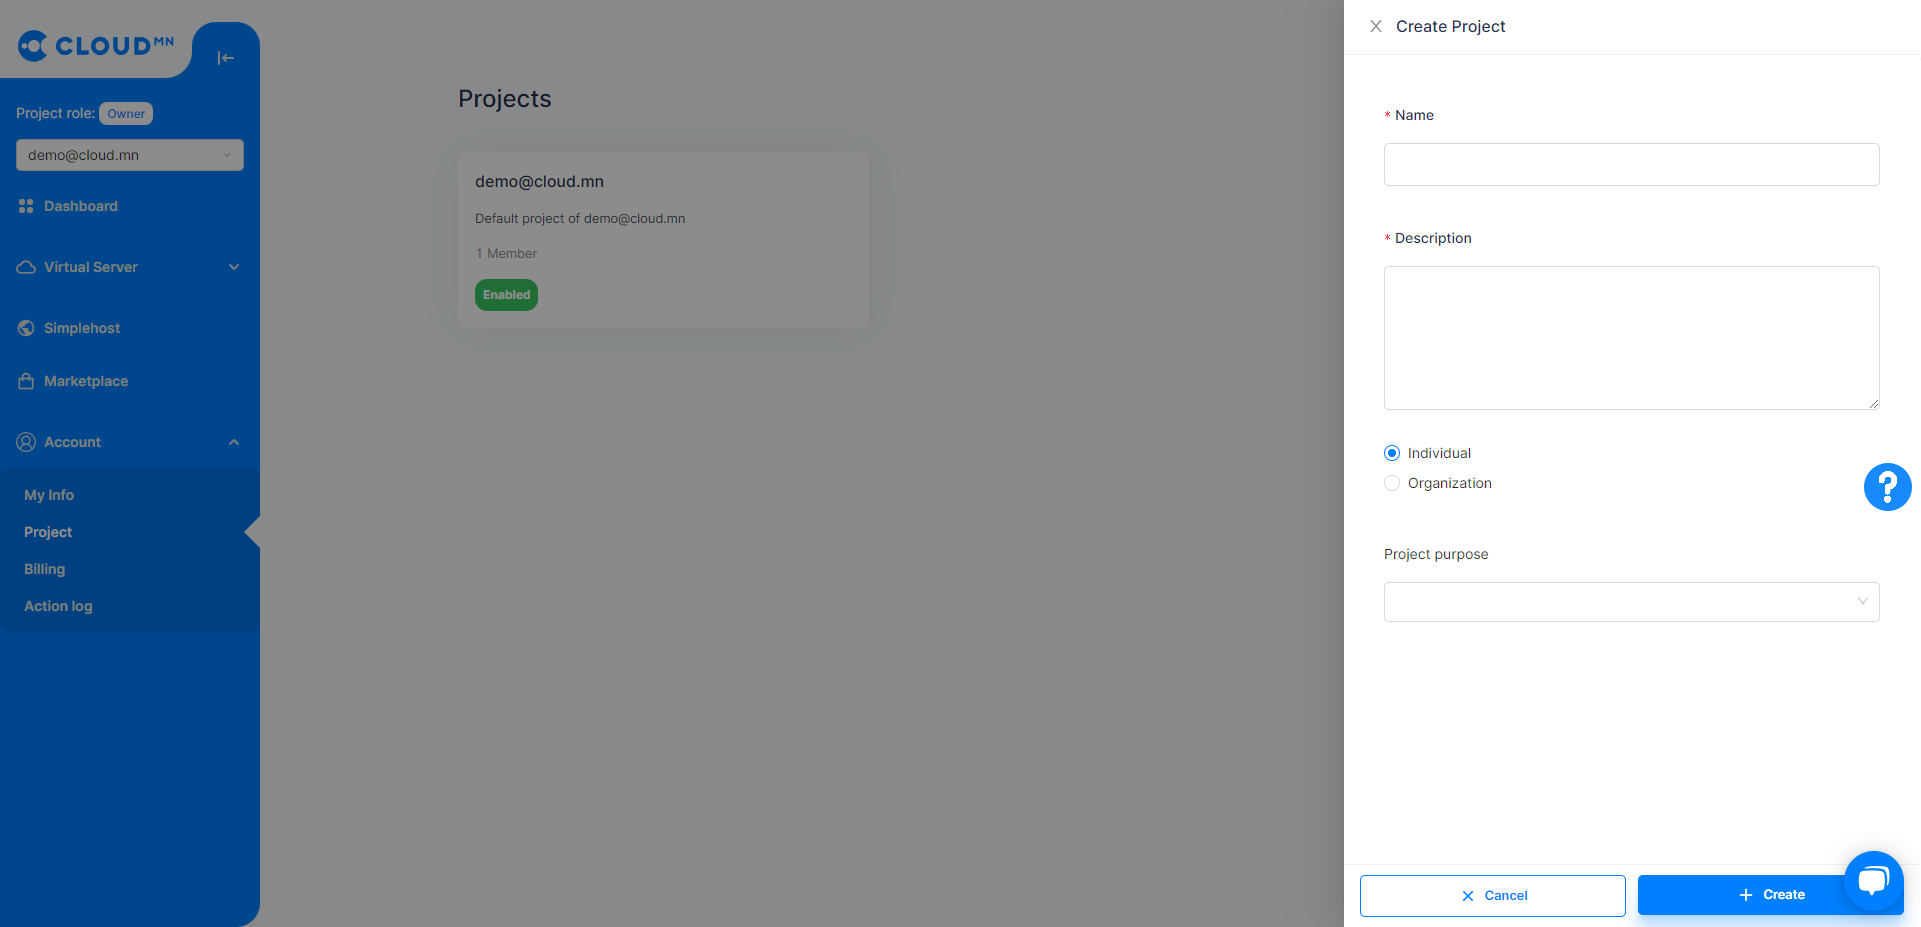
- Click on the Create Project button, enter the relevant information and click the Create button.
Project dashboard
By clicking on the created project, detailed information about the project and information about other members who have the right to participate in the project will be displayed.
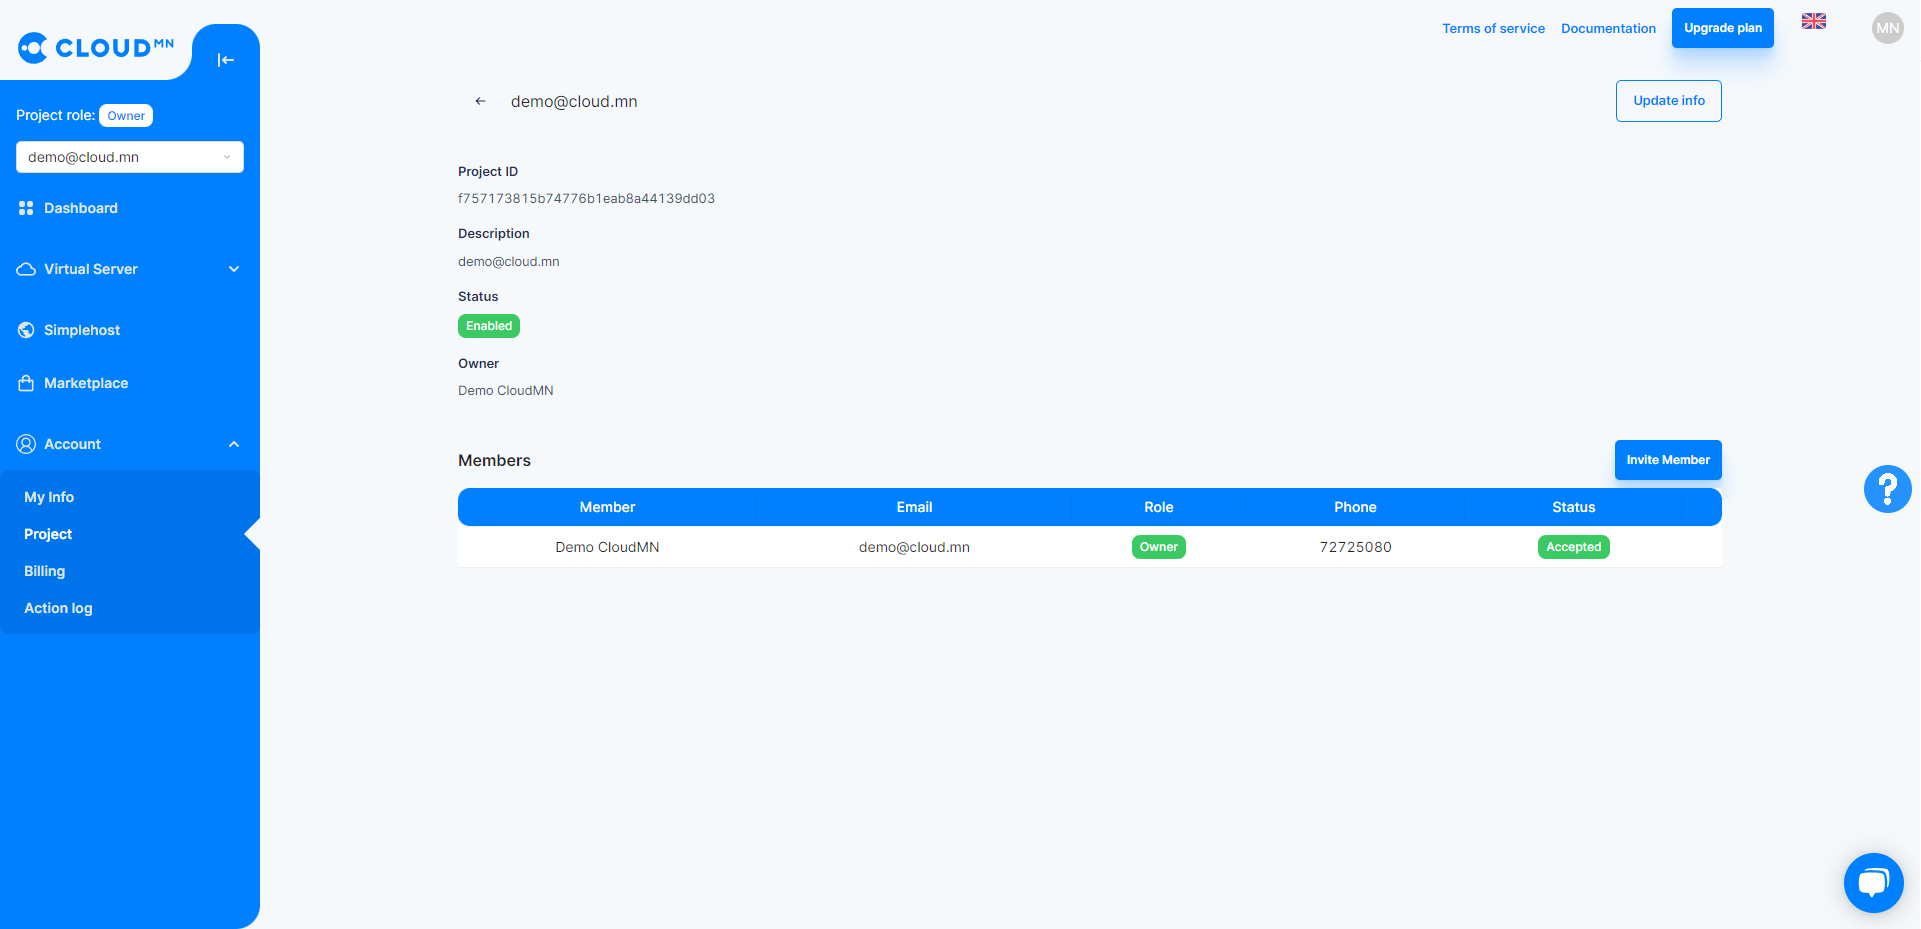
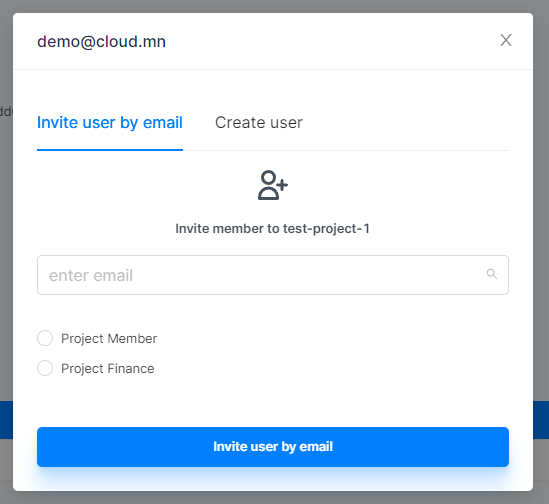
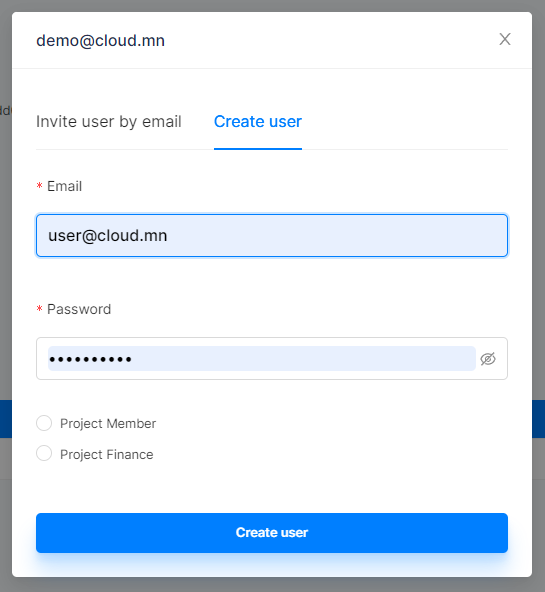
There are two ways to invite a project member: Invite a user by email or invite them by creating a user.
By clicking the Invite member button, check the field for writing the inviter's e-mail address and his role and click the Invite button. The inviting user must be registered on cloud.mn, and the project rights will be activated upon acceptance of the invitation.
But when you create and invite a user, select the invitee's login e-mail address, password, and project role, and click the Invite button.
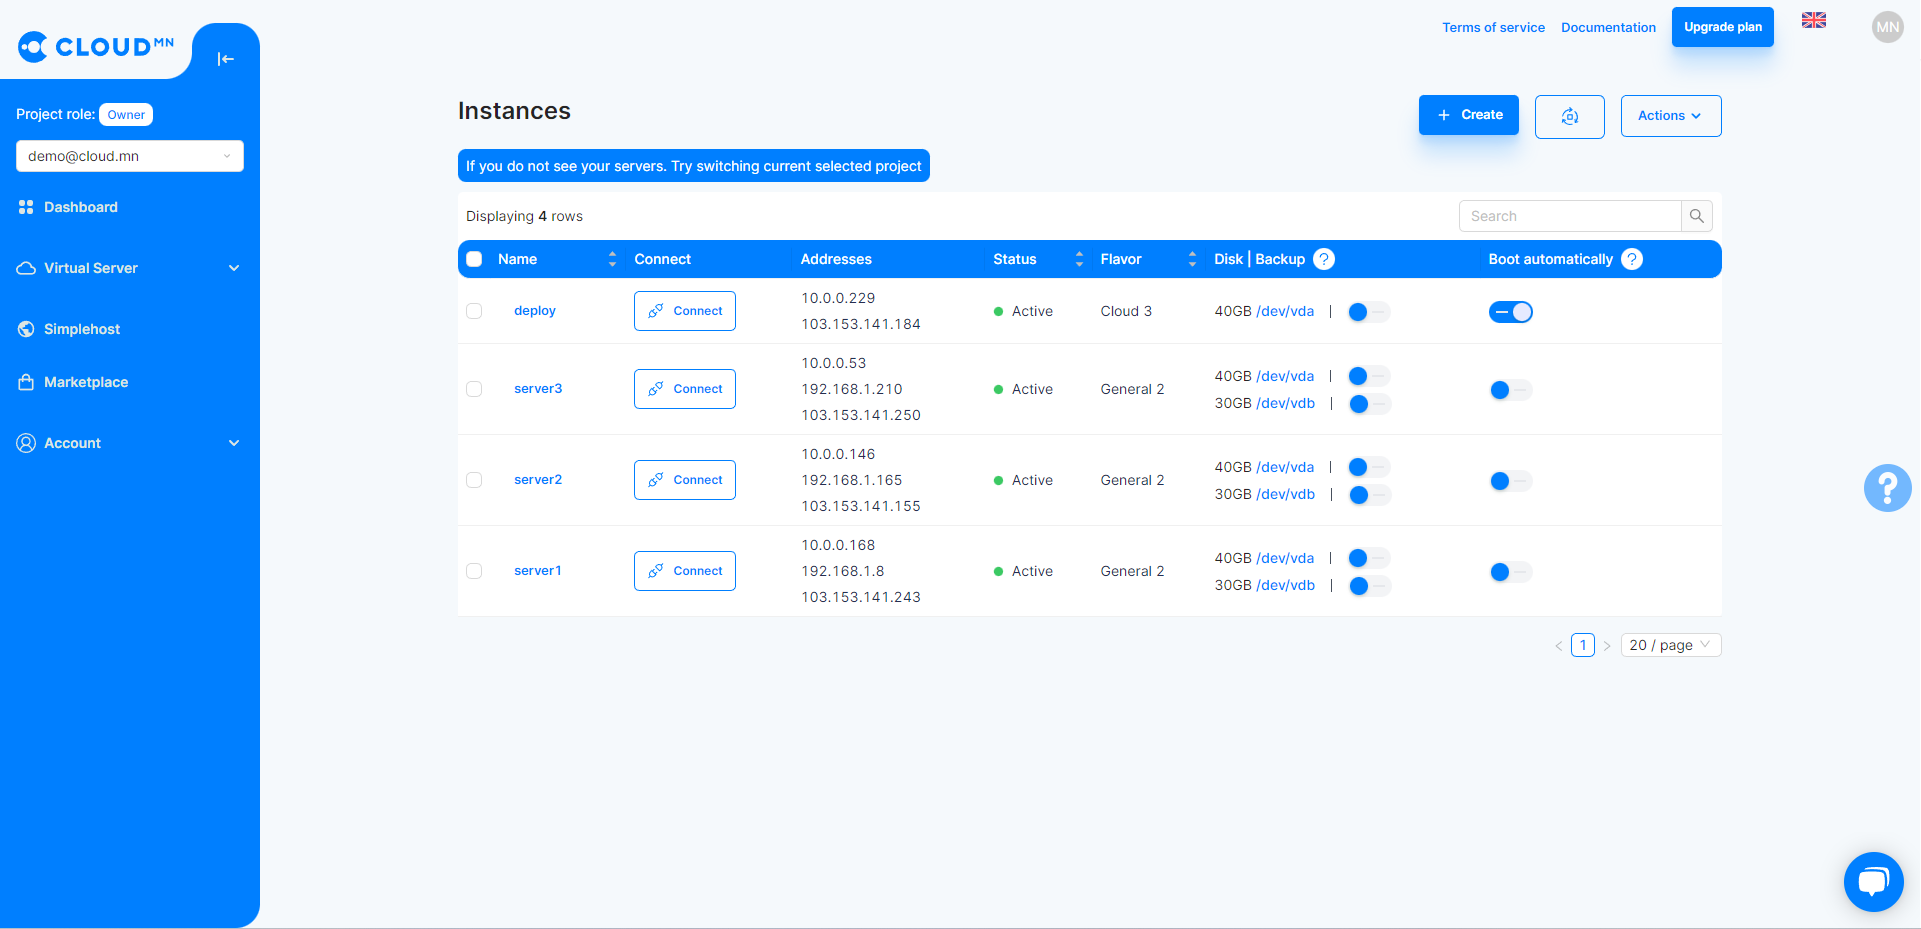
How to create a server in the newly created project?
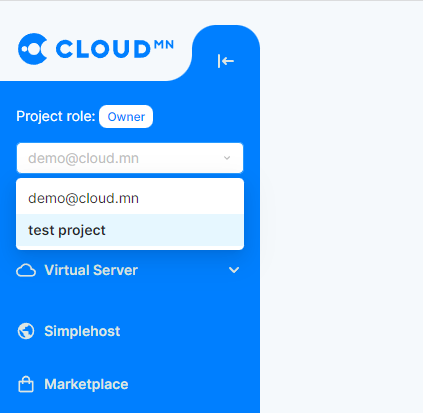
Replace the existing project with the newly created project.
- Enter the Instances menu in the Virtual Server menu. To create a new server, click the Create button.
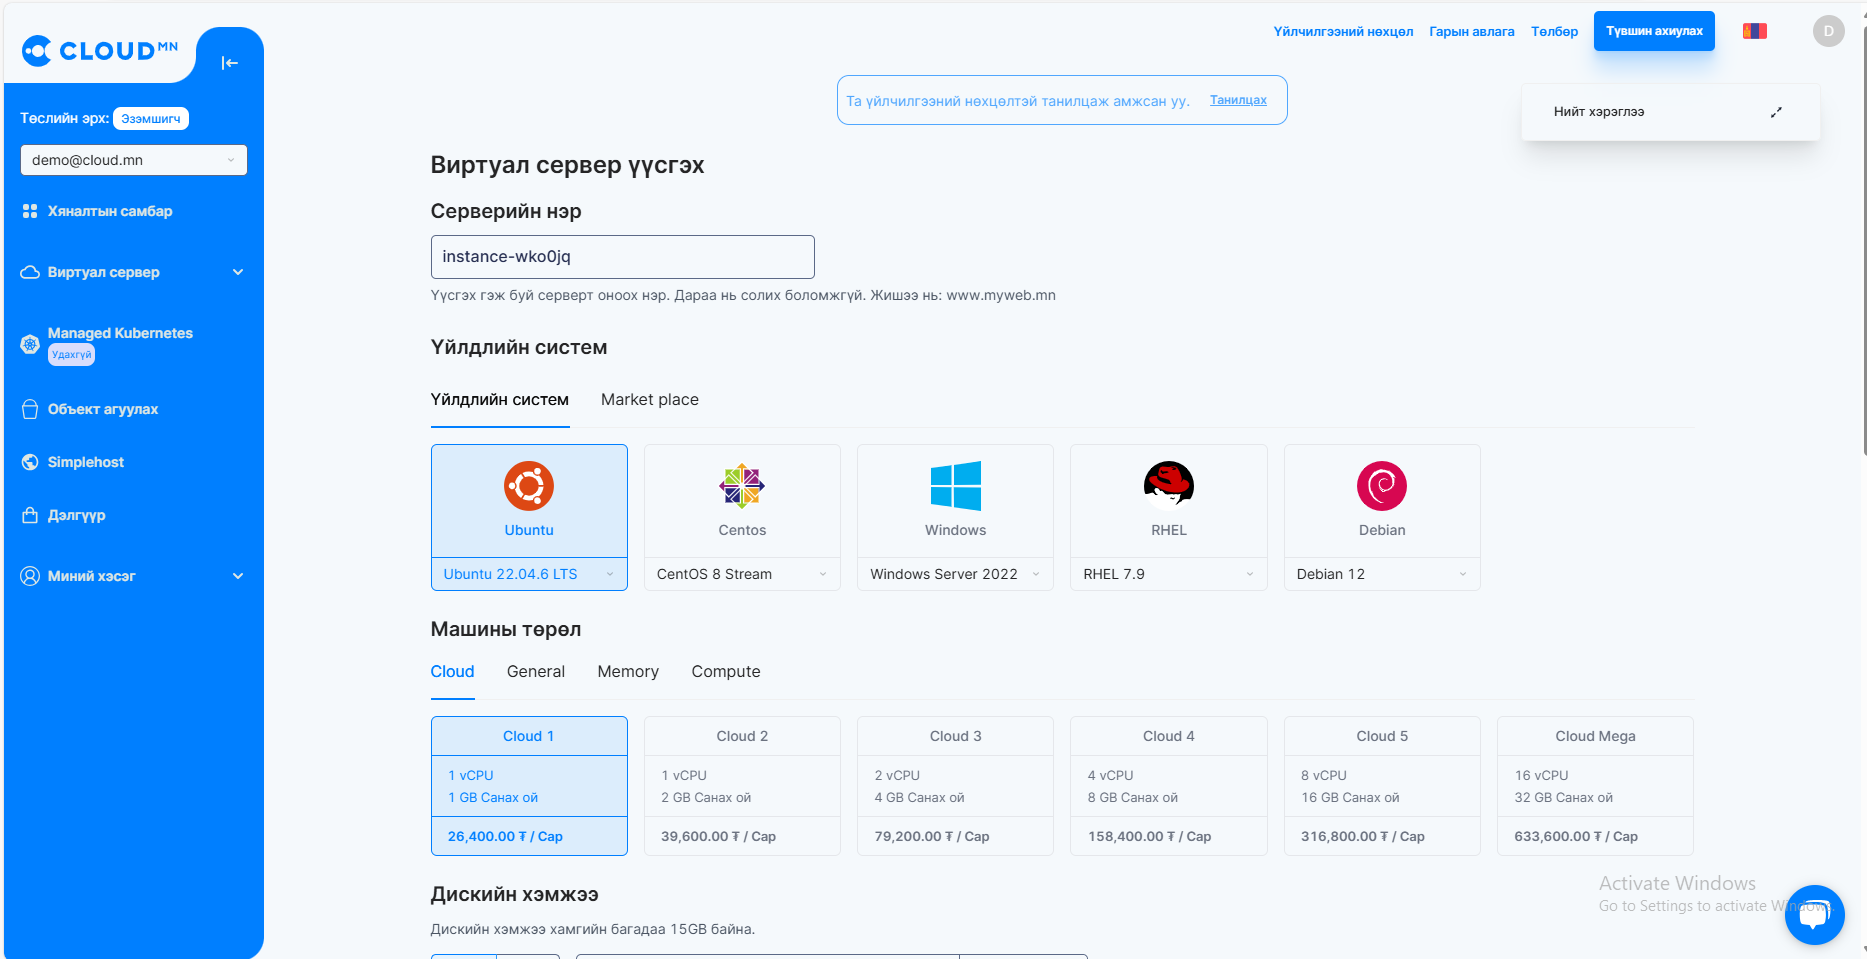
- In the new window that appears, you need to select information and parameters related to the server. First choose Operation System. info
If you want to create a windows server, you need to send a request to info@cloud.mn.

- After selecting the operating system, select the server type or size (vCPU, vRAM). Server types are divided into 4 main categories.
- Basic server - an option for simple use, it is a type of server suitable for simple applications, blogs, static web, test environment, memory cache storage, small systems and simple database.
- General server - a type of server that is suitable for running systems that require high traffic and reliability, such as online shopping and news site.
- Memory server - more speed and load handling type. This type of server is suitable for running high-load database systems and memory-intensive systems that take a lot of load.
- Compute server - a type of server that is more computational, suitable for running applications with a lot of computational power, such as CI/CD application building, video processing, machine learning, etc.
- Other information
Give the name of the server or the name of the virtual server.
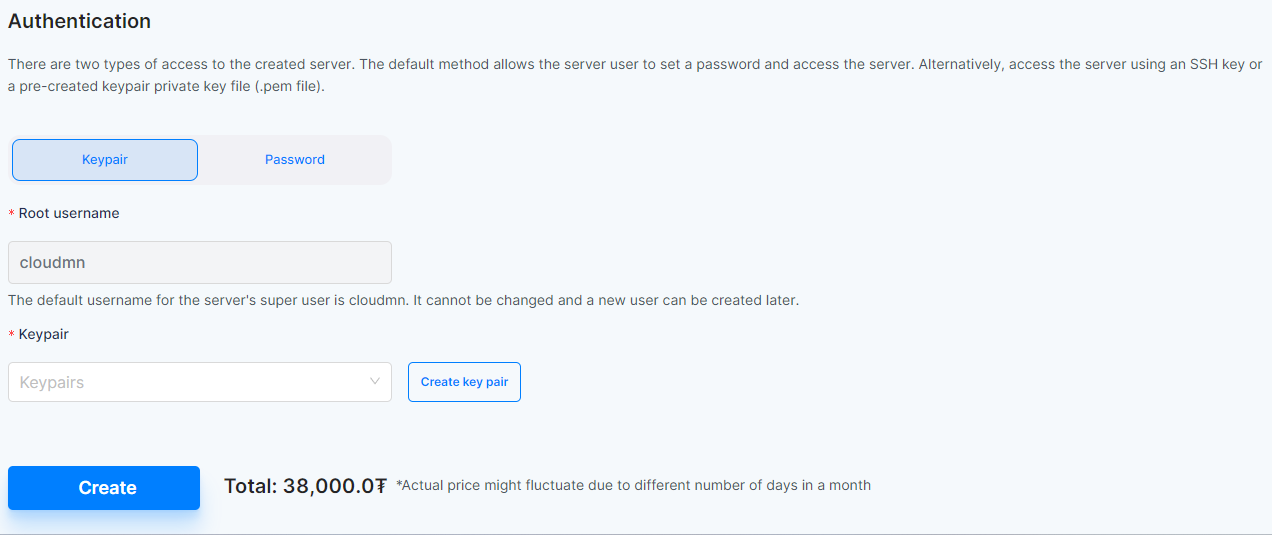
SSH access to the server can be done with the username and password entered in the access rights field. It is also possible to access the server with the help of a keypair created by the user. For access to your server, see Connecting to Server
Under Disk size, enter the size of the virtual disk to be used for that server.
On the network, you can use the Private network IP. Alternatively, by enabling the automatic IP assignment option, the CLOUD server will assign a Public IP address to the creating server. Auto Assign Ip vs Private network for details on configuration Auto Assign Ip vs Private network
In Port Settings, you select your Security Group. The server will follow the port rules listed in the selected Security Group, see Security Groups for details on Port Configuration Security Groups
After selecting all the settings, in the server parameters section, the estimated amount of money that the server will cost in a month of continuous operation will be displayed.
After reviewing all settings and pricing, click the Create button to create your virtual server.